Why Your Sewing Thread Keeps Snapping Mid-Seam
Thread snapping mid-seam can often be resolved with simple adjustments. This Sewdesk guide explains how correct threading, balanced tension, suitable needles and quality thread work together for smoother stitching. Explore practical tips and choose compatible sewing supplies to support your next project.
You’re halfway through a seam, your stitches are looking neat, and suddenly the thread snaps. You rethread the needle, start again, and the same thing happens a few centimetres later.
Sewing thread breaking can interrupt your rhythm, but it often comes down to small adjustments in threading, tension, needle selection or thread quality. Matching your sewing setup to your fabric can help you enjoy smoother stitching and fewer interruptions.
At Sewdesk, we help you explore sewing machines, accessories and supplies through practical guidance and affiliate product recommendations.
Common Reasons for Sewing Thread Breaking
Your needle, thread, fabric and machine settings work together to form each stitch. When one part of this combination needs adjusting, the thread may experience more friction or tension than it can comfortably handle.
Before changing several settings, check one thing at a time. This makes it easier to identify which adjustment improves your stitching.
1. The Threading Path Needs a Quick Check
If your sewing thread keeps snapping, start by checking how the upper thread passes through the machine. A missed guide or incorrectly threaded take-up lever can affect thread movement.
Raise the presser foot before threading so the thread can settle into the tension mechanism correctly. Follow the threading sequence in your machine’s manual, including each guide and the take-up lever.
Try this: Remove the upper thread and rethread from the spool to the needle. Check that the spool unwinds freely and that the spool cap, where required, is fitted as instructed.
2. Sewing Machine Thread Tension Needs Adjusting
Sewing machine thread tension controls how the upper thread feeds into the stitch. If the upper tension is too tight for your fabric and thread combination, the thread may break during sewing.
Make small adjustments rather than turning the dial through several settings at once. Sew a short test seam on a scrap of the same fabric after each change.
Try this: Begin with the setting recommended in your manual. If the upper thread appears excessively tight, reduce the tension slightly and inspect both sides of the test seam.
3. The Needle and Thread Need to Match
A needle that is too small for the thread can create extra friction as the thread passes through its eye. Needle type also matters: woven fabrics, knits and heavier materials benefit from needles suited to their construction.
For example, stretch fabrics may need a stretch or ballpoint needle, while denim often calls for a denim needle of an appropriate size.
Try this: Choose the needle type and size according to your fabric and thread. Check the needle packaging and your sewing machine manual for compatibility.
4. A Fresh Needle Can Improve Thread Movement
Needles gradually wear with use. A bent needle or a rough needle eye can contribute to thread breaking while sewing, even when the rest of your setup is correct.
Replacing the needle is a simple maintenance step that can help restore smooth stitching.
Try this: Fit a fresh, compatible needle. Insert it fully, orient it according to your manual, and tighten the needle clamp securely.
5. Thread Quality and Condition Matter
Thread should unwind smoothly and have reasonably consistent thickness. Aged, damaged or unsuitable thread may break more easily under normal sewing tension.
A good-quality all-purpose thread can suit many everyday projects, while specialist fabrics or techniques may benefit from a different thread type.
Try this: Test another spool that is suitable for your project. Store thread away from direct sunlight, heat and moisture to help preserve its condition.
6. The Spool May Be Catching the Thread
Sometimes the thread catches on a spool notch, winds around the spool pin or gets restricted by an unsuitable spool cap. This can create a sudden increase in tension.
Try this: Watch the spool as you sew a short test seam. Check the spool position and cap size against your manual, and make sure the thread does not catch on the spool’s edge.
7. The Bobbin Setup Needs Checking
If the lower thread breaks or stitching becomes tangled, check the bobbin setup. A correctly wound and inserted bobbin supports consistent stitch formation.
Try this: Use the bobbin type specified for your machine. Confirm that it is wound evenly, inserted in the correct direction and threaded through the appropriate guide.
8. Your Fabric Needs Gentle Guidance
Pulling fabric through the machine can place extra strain on the needle and thread. The feed dogs are designed to move the fabric while you guide its direction.
Thick seam intersections may also benefit from a slower, steadier pace.
Try this: Guide the fabric lightly without pulling it. Reduce your speed when crossing bulky seams, and use an appropriate presser foot or seam-levelling accessory when recommended.
How to Stop Sewing Thread from Breaking
When thread snaps repeatedly, use this simple sequence:
- Rethread the upper thread with the presser foot raised.
- Check that the spool unwinds freely.
- Fit a fresh needle suited to your fabric and thread.
- Confirm that the bobbin is correctly inserted.
- Test the recommended tension setting on matching fabric scraps.
- Make small adjustments and sew at a steady pace.
If the thread continues to break, note whether it happens near the needle, at the spool or underneath the fabric. That detail can help you find the relevant guidance in your machine’s manual or explain the issue to a service professional.
Choose Sewing Supplies That Suit Your Projects
A well-matched sewing setup makes everyday stitching more enjoyable. When choosing supplies, consider:
- Thread: Suitable fibre, thickness and quality for the fabric.
- Needles: Compatible with your machine and appropriate for the project.
- Bobbins: The exact type specified by the manufacturer.
- Presser feet: Compatible accessories that support your intended sewing tasks.
- Sewing machines: Features that suit the fabrics and projects you plan to work on.
Sewdesk’s affiliate recommendations can help you explore these options and compare product features before purchasing. Check compatibility details carefully, especially when buying needles, bobbins and presser feet.
Affiliate disclosure: Sewdesk may earn a commission from purchases made through affiliate links.
Frequently Asked Questions
Why does my sewing thread keep snapping near the needle?
Common causes include a needle that is too small for the thread, a worn needle, incorrect threading or excessive upper tension. Start by rethreading and fitting a fresh, suitable needle.
Can tight tension cause sewing thread breaking?
Yes. Excessive upper tension can put additional strain on the thread. Make small adjustments and test each change on a scrap of your project fabric.
Does a thicker thread always prevent breakage?
No. The thread must suit the fabric, needle and machine. A thicker thread passing through a small needle eye can experience more friction.
Should I change the needle when starting a new project?
Check the needle’s condition and confirm that its type and size suit the new fabric. Replace it if it is worn, bent or unsuitable for the project.
Can I use any bobbin in my sewing machine?
Use the bobbin type specified in your machine’s manual. Similar-looking bobbins can differ in dimensions and may not be interchangeable.
With suitable supplies, careful threading and a few small setting adjustments, you can often resolve sewing thread breaking and get back to completing your seams smoothly.
More Articles
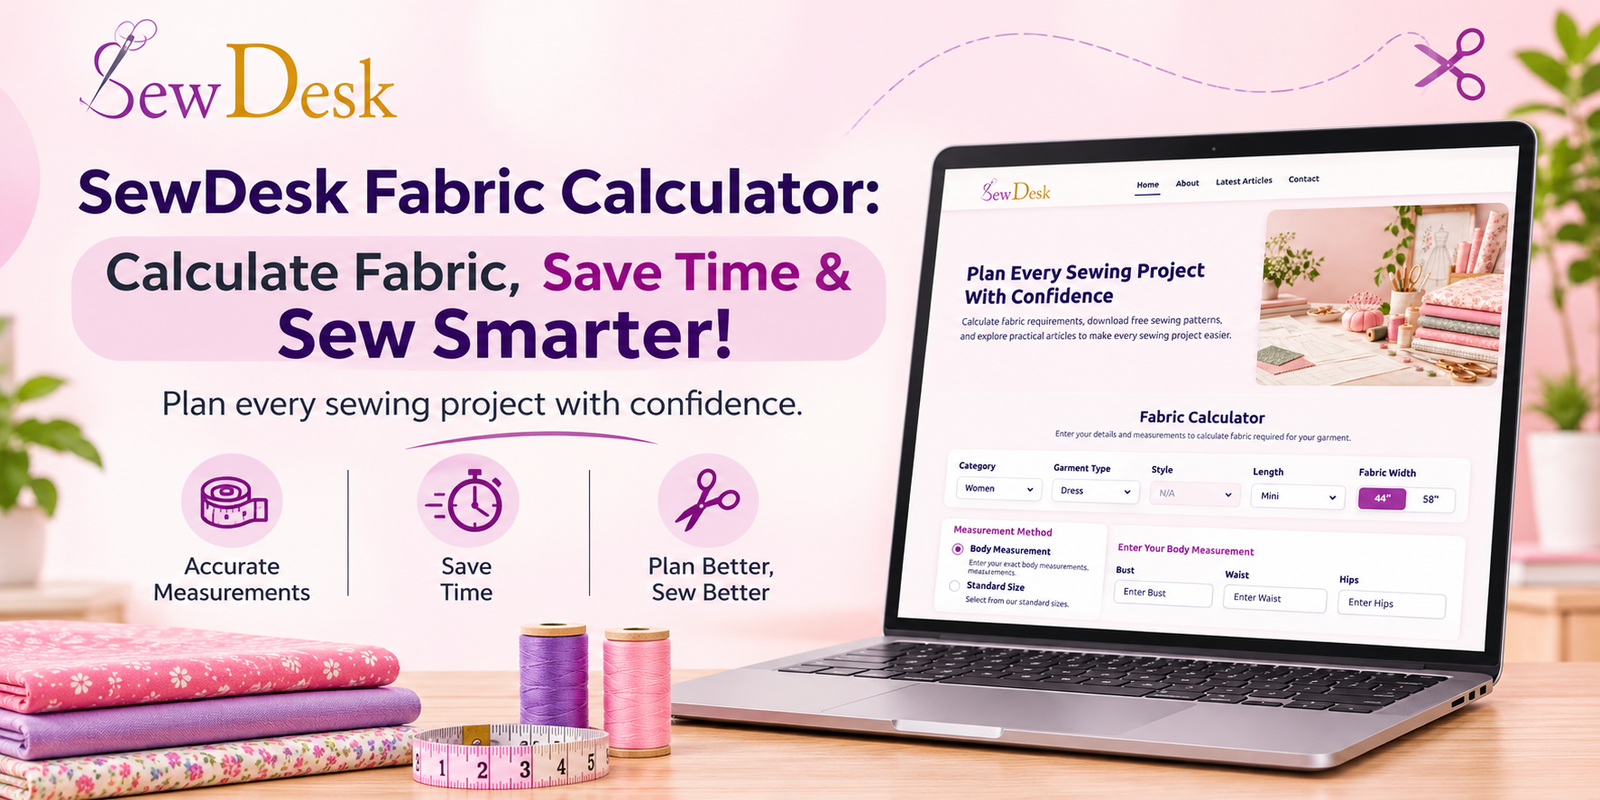
SewDesk Fabric Calculator: Calculate Fabric, Save Time & Sew Smarter!
Discover how the SewDesk Fabric Calculator makes fabric estimation simple and convenient. Learn how to calculate fabric requirements, reduce material wastage, save time, manage sewing budgets, and plan your stitching projects more efficiently. Whether you are a beginner, tailor, or fashion designer, SewDesk helps you sew smarter.
Read More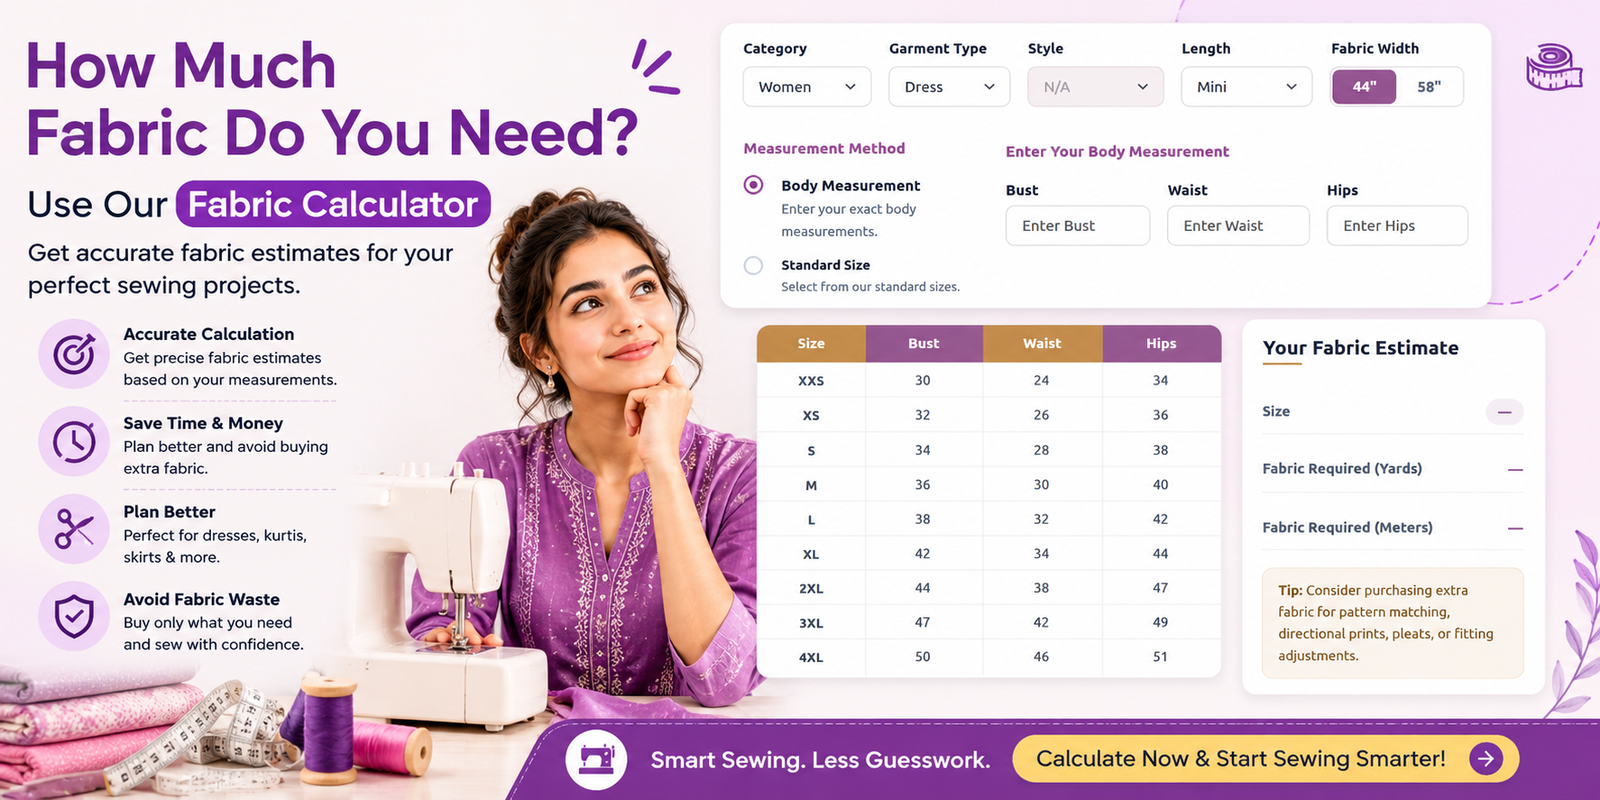
How Much Fabric Do You Need? A Complete Guide to Using a Fabric Calculator
Discover how much fabric you need for your next sewing project with a Fabric Calculator. Learn how to calculate fabric requirements for dresses, kurtis, blouses, and skirts based on garment style, body measurements, and fabric width. Explore practical tips to save time, reduce fabric waste, and plan smarter sewing projects with Sewdesk.
Read More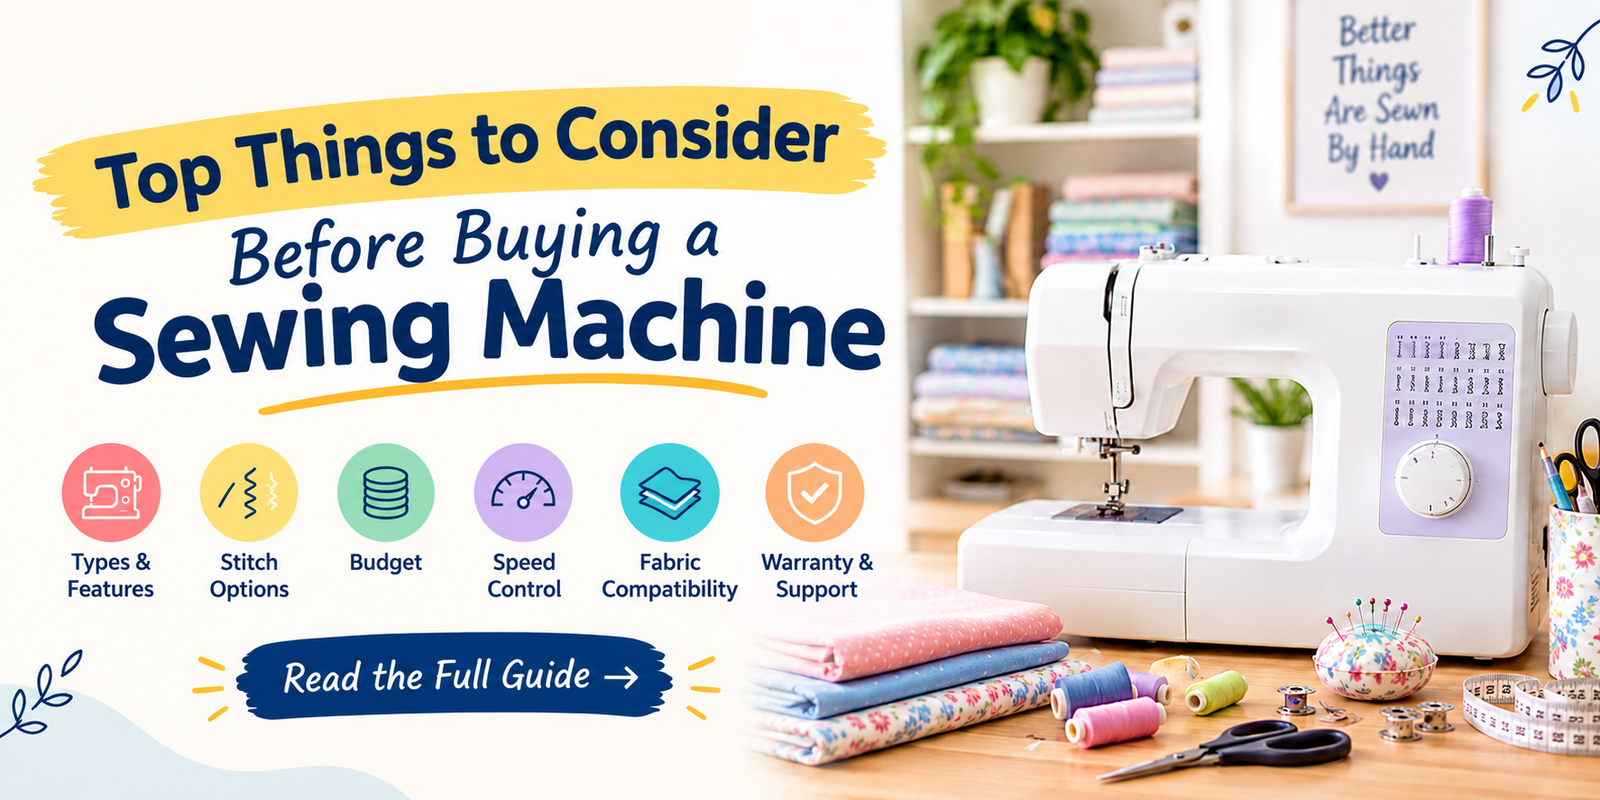
Top Things to Consider Before Buying a Sewing Machine
Learn about the top things to consider before buying a sewing machine. Explore different machine types, stitch options, budget, speed control, fabric compatibility, essential features, and warranty tips to choose the right sewing machine for your needs. Whether you're a beginner or an experienced sewing enthusiast, this guide will help you make an informed buying decision.
Read More