Why Your Hems Always Look Wonky and How to Get Them Straight
Wonky hems often result from uneven marking, inconsistent folds or fabric stretching during stitching. This SewDesk guide explains how to sew a straight hem with accurate measurements, careful pressing and fabric-appropriate stitches. Discover practical tips to fix uneven hems, prevent wavy edges and create a neater finish on your sewing projects.
You finish sewing a skirt, shorten a pair of trousers or tidy up the bottom of a top—and the hem looks uneven. One section hangs lower, the stitching wanders, or the fabric develops little waves.
If you are wondering how to sew a straight hem, the answer starts before the fabric reaches your sewing machine. Accurate marking, careful pressing and a suitable stitch all help create a neat finish.
This SewDesk guide explains why hems go wrong and how to make your next one look more even.
Why Does Your Hem Look Uneven?
A wonky hem can mean two different things: the garment hangs unevenly, or the stitching fails to follow the folded edge. Each needs a slightly different fix.
Common causes include:
- Marking the hem before checking the garment’s fit.
- Folding different amounts along the edge.
- Skipping the pressing stage.
- Pulling or stretching the fabric while stitching.
- Using a hem finish unsuitable for the fabric.
- Trying to turn a wide hem around a curved edge.
Before changing your machine settings, identify whether the problem is the hem’s height, the stitching or the way the fabric lies.
How to Sew a Straight Hem: Start with the Finished Length
Try on the garment before marking its final length. For trousers or a long skirt, wear the shoes you expect to pair with it.
Check the front, back and sides. Measuring the same distance from an uneven raw edge will simply preserve that unevenness.
For a level skirt hem, a helper can mark the desired height from the floor while you stand naturally. For trousers, check each leg separately.
Mark the finished hemline first, then add the allowance needed for your chosen hem finish before trimming.
On bias-cut or very full skirts, let the garment hang before making the final marks. Some sections may relax more than others, so check the length again before cutting.
Choose the Right Hem for Your Fabric
The best hemming method depends on the material and the shape of the edge.
Straight woven edges
A double-fold hem is a useful choice for many cotton garments and straightforward sewing projects. The first fold encloses the raw edge, and the second establishes the finished length.
Follow your pattern’s hem allowance rather than applying one width to every project.
Curved edges
A curved hem often needs a narrower finish. Turning up a wide allowance can leave excess fabric inside the curve, causing folds or puckers.
A narrow hem, facing or bias-bound finish may work better, depending on the garment.
Stretch fabrics
Knit fabrics need a finish that allows the garment to stretch. A suitable stretch stitch, narrow zigzag, compatible twin needle or coverstitch can be an option.
Test your chosen method on a scrap first. A stitch that looks tidy when flat may still break when stretched.
Measure and Press Each Fold
One of the most useful hemming tips for beginners is to measure frequently.
Use a sewing gauge or ruler to check the fold at regular intervals. Pay extra attention near side seams, where bulk can change the fold width.
Press the first fold, then measure and press the second if you are making a double-fold hem. Use a temperature suitable for the fabric and test delicate materials first.
Lift and lower the iron instead of dragging it along the edge. Sliding the iron can distort lightweight or stretchy fabric.
A clearly pressed fold gives you a consistent path to follow while sewing.
Hold the Hem in Place Before Stitching
Pins, clips or temporary basting help stop the folded edge from shifting.
For slippery fabric or a curved hem, hand basting can make sewing machine hemming easier. It holds the layers together while you concentrate on guiding the garment.
Remove pins before the needle reaches them, and keep clips clear of the presser foot.
Avoid placing so many pins that the fabric bunches between them. The hem should sit smoothly before sewing begins.
Follow a Guide Instead of Watching the Needle
Watching the needle makes it easy to steer left and right with every stitch.
For sewing straight hems, choose a reference point on the presser foot or machine bed and keep the folded edge aligned with it. Position the stitching so it catches the turned-under allowance consistently.
Sew slowly enough to maintain control. Support the garment’s weight on the table so it does not pull against the needle.
Guide the fabric gently and allow the feed dogs to move it through the machine.
How to Prevent a Wavy Hem
A wavy hem is especially common when stretchy fabric becomes stretched during sewing.
To help prevent it:
- Keep the garment supported.
- Avoid pulling the fabric from the front or back.
- Use a needle suitable for the fabric.
- Test the stitch and tension on matching scraps.
- If your machine allows presser-foot pressure adjustment, check the manual and test a lower setting.
- Consider a compatible stabilizer if the edge remains difficult to control.
Change one setting at a time. This makes it easier to identify which adjustment improves the result.
Press the finished hem gently, but do not rely on pressing to correct severe stretching or trapped folds.
How to Fix an Uneven Hem
If you have already sewn the hem, inspect it before trimming anything.
If the garment hangs unevenly: Unpick the affected section, try the garment on again and remark the finished length. Check that enough allowance remains before cutting.
If the stitching wanders: Unpick the uneven stitches, press the fold again and resew using a consistent guide.
If the hem puckers: Check for excess fabric inside a curve, uneven folds or unsuitable stitch settings. Test the correction on a scrap before resewing.
If the hem feels bulky: Review the fold width and the seam intersections. A narrower or different hem finish may be more suitable.
The right repair addresses the cause instead of repeatedly shortening the garment.
Check the Finish Before Calling It Done
Lay the garment flat and inspect the stitching. Then try it on to check how the hem hangs.
Look for an even length, a smooth edge and stitching that catches the allowance throughout. On stretchy garments, gently check that the stitches allow the necessary movement.
Learning how to sew a straight hem becomes easier when marking, pressing and guiding are treated as separate steps. Give each one a little attention, and your finishing will become more consistent.
Explore SewDesk for more practical sewing guides, fabric-planning tools and inspiration for your next project.
Frequently Asked Questions
Why is my hem uneven even though I measured it?
You may have measured from an uneven raw edge or marked the length before checking the garment’s fit. Try it on and mark the finished hemline before adding the allowance.
Should I press a hem before sewing?
Yes. Pressing establishes the fold and makes it easier to maintain a consistent width. Always use an appropriate temperature for your fabric.
Can I use a straight stitch on every hem?
No. A straight stitch works for many woven fabrics, but stretchy garments usually need a stitch that accommodates movement.
Why does my curved hem bunch up?
A wide turned-up allowance can contain more fabric than the area it must fit into. A narrower hem, facing or bias-bound finish may resolve the problem.
What is the easiest way to practise straight hems?
Start with a straight edge on a stable woven fabric. Mark, measure and press the fold, then practise following a fixed guide while sewing slowly.
More Articles
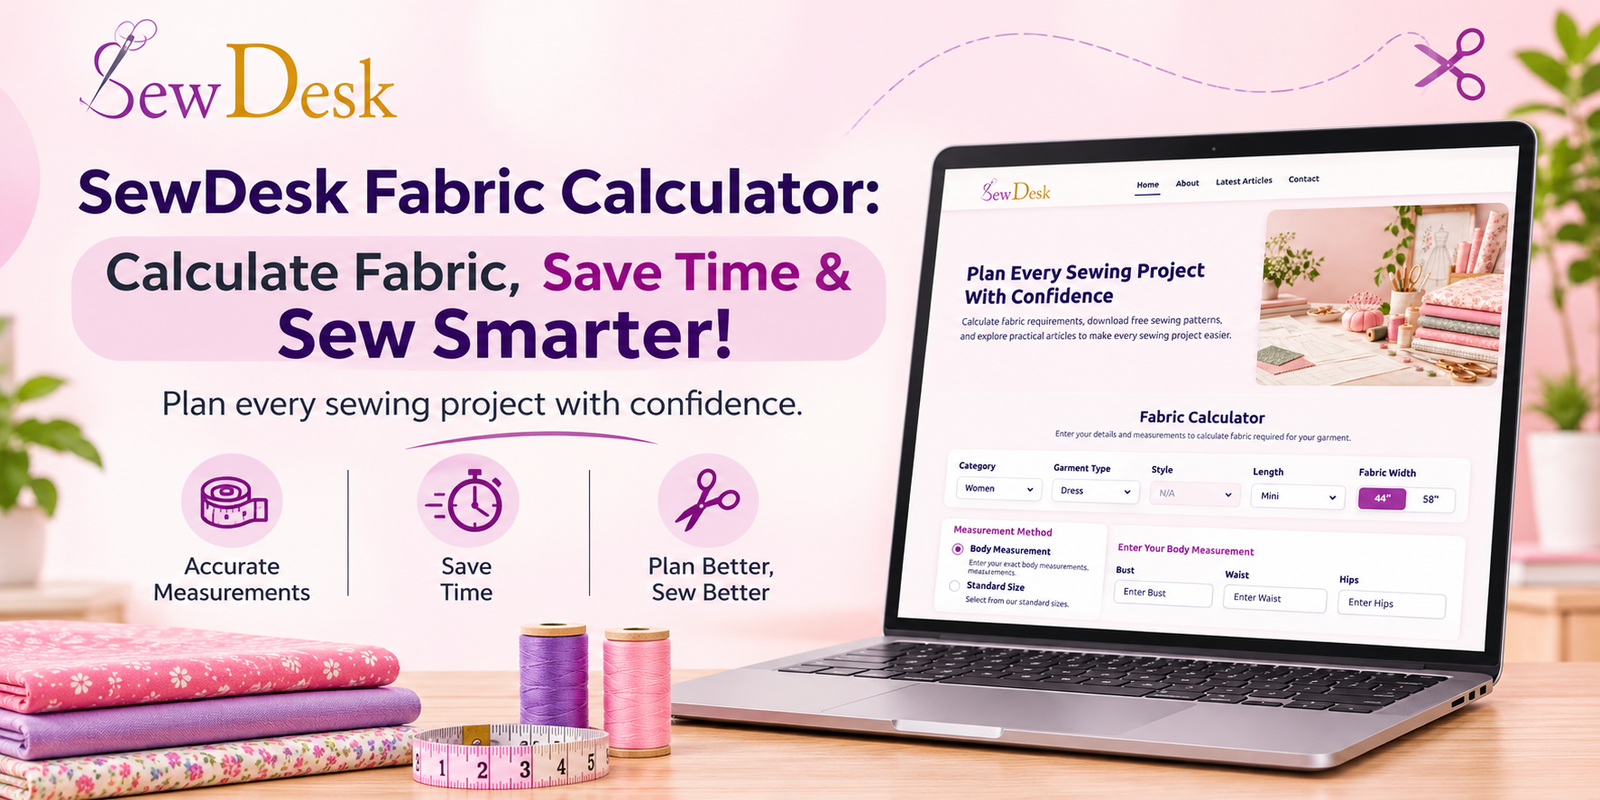
SewDesk Fabric Calculator: Calculate Fabric, Save Time & Sew Smarter!
Discover how the SewDesk Fabric Calculator makes fabric estimation simple and convenient. Learn how to calculate fabric requirements, reduce material wastage, save time, manage sewing budgets, and plan your stitching projects more efficiently. Whether you are a beginner, tailor, or fashion designer, SewDesk helps you sew smarter.
Read More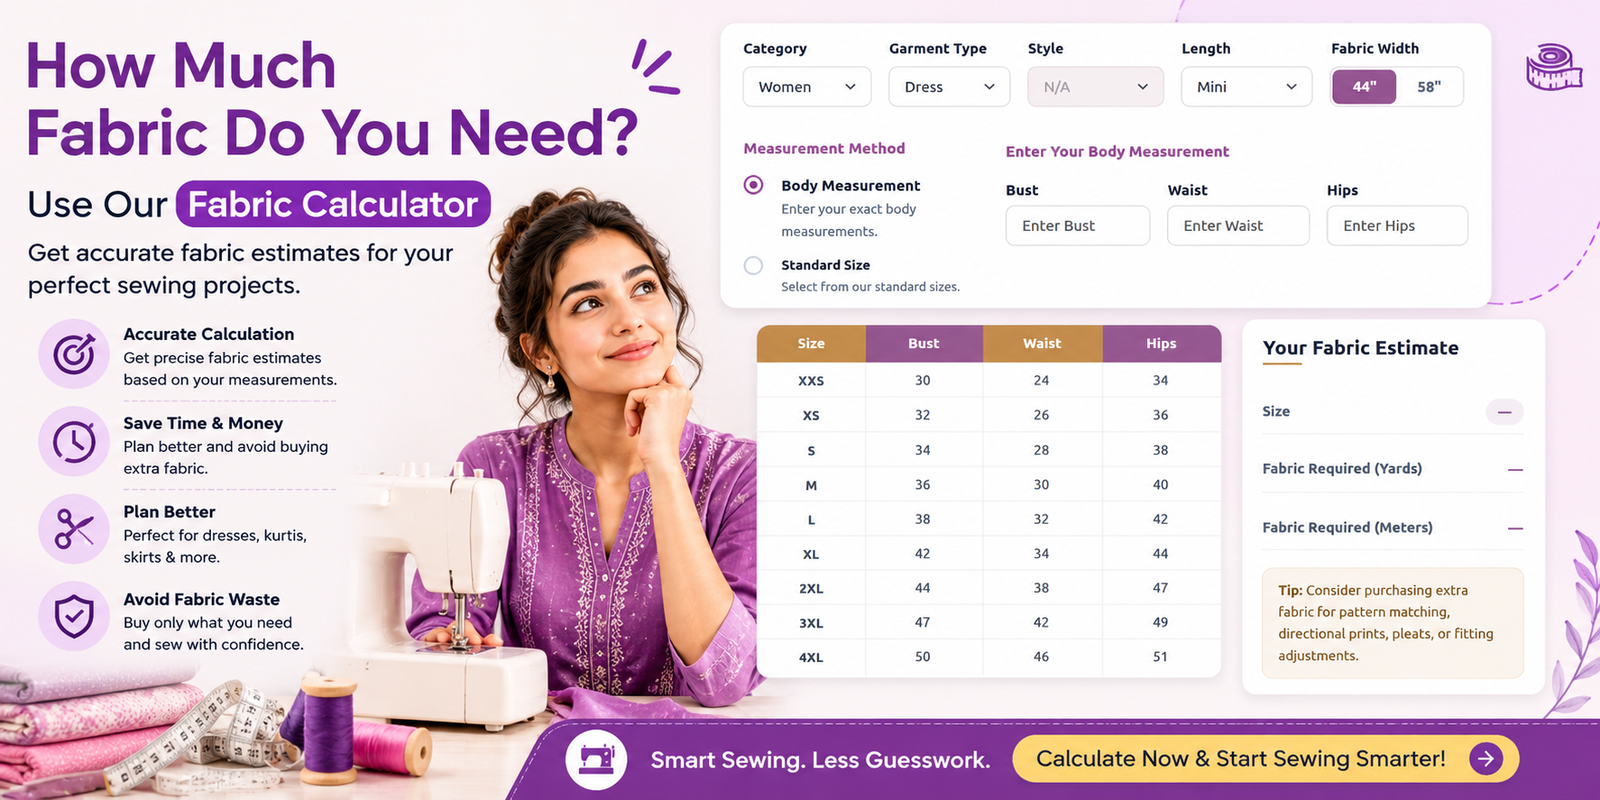
How Much Fabric Do You Need? A Complete Guide to Using a Fabric Calculator
Discover how much fabric you need for your next sewing project with a Fabric Calculator. Learn how to calculate fabric requirements for dresses, kurtis, blouses, and skirts based on garment style, body measurements, and fabric width. Explore practical tips to save time, reduce fabric waste, and plan smarter sewing projects with Sewdesk.
Read More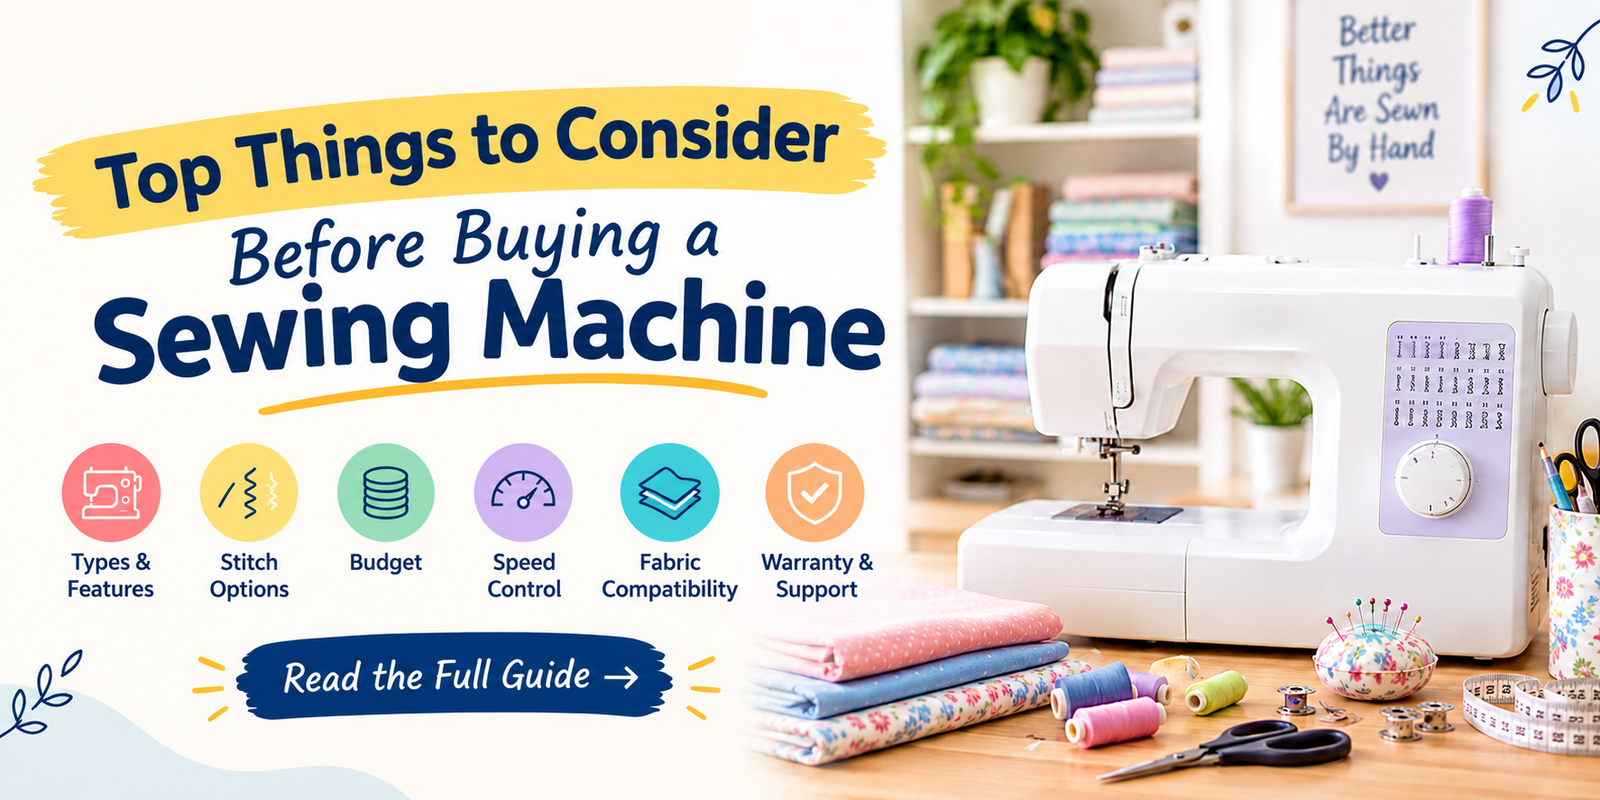
Top Things to Consider Before Buying a Sewing Machine
Learn about the top things to consider before buying a sewing machine. Explore different machine types, stitch options, budget, speed control, fabric compatibility, essential features, and warranty tips to choose the right sewing machine for your needs. Whether you're a beginner or an experienced sewing enthusiast, this guide will help you make an informed buying decision.
Read More