Turning at the Needle: A Beginner’s Guide to Sharp Corners | SewDesk
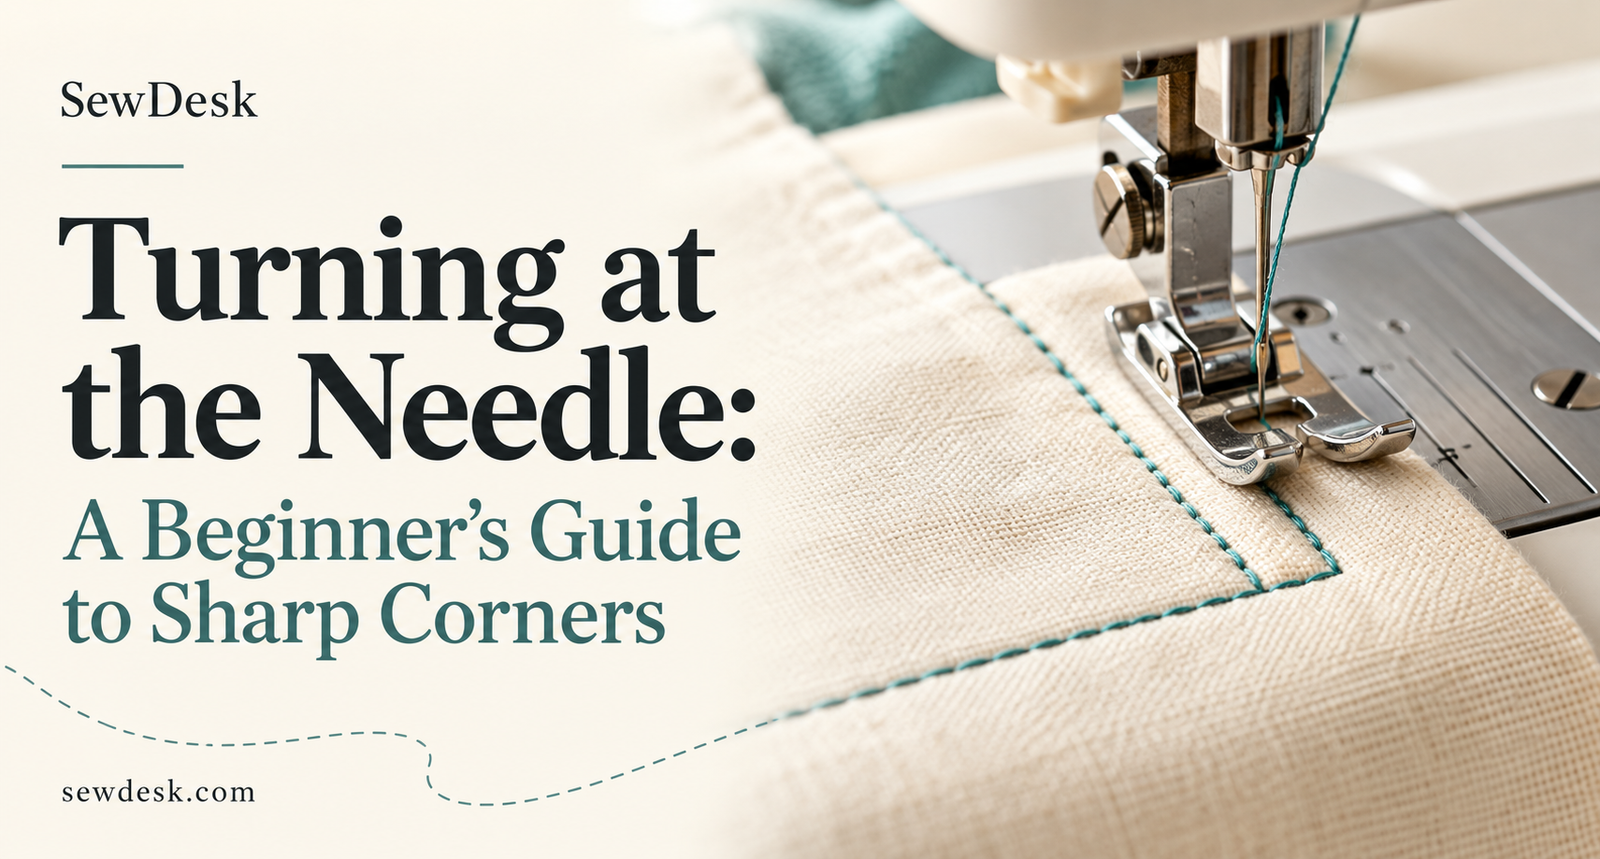
Learn how to sew sharp corners with this beginner-friendly SewDesk guide to turning at the needle. Follow simple steps for pivoting, maintaining seam alignment, avoiding common mistakes, and practising the needle down technique.
Turning at the Needle: Straight seams can feel easy until you reach a corner. Turn too early, and the stitching loses its shape. Sew too far, and the seam extends beyond the point where it should change direction.
Turning at the needle helps you control that change. By stopping with the needle in the fabric, you create a fixed pivot point that keeps your stitching connected as you turn.
This SewDesk guide explains how to sew sharp corners, avoid common mistakes, and build confidence with a simple practice exercise.
What Is Turning at the Needle?
Turning at the needle means changing your sewing direction while the needle remains in the fabric. It is also called pivoting at the needle or the needle down pivot technique.
The basic sequence is straightforward: stop at the turning point, leave the needle down, lift the presser foot, rotate the fabric, lower the foot, and continue sewing. SINGER’s sewing guidance describes this same method for turning corners.
You can use it when stitching square patches, rectangular fabric pieces, pockets, and other projects with angular stitching lines.
What You Need Before You Begin
For your first attempt, gather:
A sewing machine with a straight stitch setting
Two scraps of stable woven fabric
A suitable needle and thread
A ruler and fabric marking tool
Scissors
Choose an easy-to-handle fabric, such as woven cotton, for practice. Mark the stitching lines clearly so you can focus on the turning point instead of guessing where to stop.
Turning at the Needle: Step-by-Step Guide
1. Mark the Corner on Your Stitching Line
The turning point is where your two stitching lines meet. It is usually inside the fabric edge, according to your seam allowance.
For example, with a 1 cm seam allowance, mark a line 1 cm from each adjoining edge. Their intersection is your pivot point.
This distinction matters: you turn at the corner of the stitching line, rather than sewing all the way to the raw fabric corner.
2. Sew Slowly Towards the Mark
Begin sewing along the first marked line. Reduce your speed as you approach the intersection.
Keep the fabric supported and guide it gently. Avoid pulling or pushing it through the machine, especially during the final few stitches.
3. Stop with the Needle in the Fabric
Stop when the needle reaches the marked intersection.
If your machine has a needle-down function, use it to position the needle. Otherwise, use the handwheel according to your machine’s instructions to place the needle in the fabric at the turning point.
4. Lift the Presser Foot and Pivot
With the machine stopped and the needle holding the turning point, raise the presser foot.
Rotate the fabric gently until the next marked line aligns with your sewing direction. For a square corner, this will normally be a quarter turn.
Do not force the fabric against the needle. If the fabric catches or bunches, pause and free it before continuing.
5. Lower the Presser Foot and Continue
Check that the fabric lies flat and the next stitching line is aligned.
Lower the presser foot before you restart. Sew a few stitches slowly, then continue at a comfortable speed.
Common Mistakes When Sewing Corners for Beginners
Turning Before Reaching the Mark
An early turn changes the shape of the stitched corner. Marking the intersection and slowing down makes the stopping point easier to judge.
Sewing Past the Turning Point
Overshooting can create an uneven corner. If this happens, stop and correct the misplaced stitches instead of pulling the fabric back with the needle down.
Lifting the Needle Before Pivoting
The fabric can shift when the needle no longer anchors it. Keep the needle in the fabric until the turn is complete.
Restarting with the Presser Foot Raised
Make lowering the presser foot part of your routine. A simple reminder is: stop, needle down, foot up, turn, foot down, sew.
Does Pivoting Alone Create a Sharp Finished Corner?
Pivoting creates a controlled corner in your stitching. A crisp corner on an item turned right side out also depends on the fabric, seam allowance, bulk, and pressing.
For an enclosed outward corner, you may need to trim excess seam allowance before turning. Keep scissors clear of the stitches, shape the corner gently with a blunt turning tool, and press using a setting suitable for the fabric.
Follow your pattern’s instructions because outward corners, inward corners, and folded hems require different finishing methods.
A Simple SewDesk Practice Exercise
Draw a square on a fabric scrap and stitch around it. Pivot at each marked corner using the same sequence.
Repeat the exercise, then inspect your work:
Did you stop at each intersection?
Are the adjoining stitching lines connected neatly?
Did the fabric remain flat during each turn?
Is the seam allowance consistent?
Practise until the sequence feels comfortable before applying it to your project.
FAQs: Turning at the Needle
What is the needle down pivot technique?
It is a method of turning fabric while the needle remains in it, helping maintain the position of the stitching at the corner.
Do I need a special presser foot?
A standard presser foot is generally suitable for basic straight-stitch practice. Check your machine’s instructions for the correct setup.
How do I turn corners when sewing without a needle-down button?
Stop the machine and use the handwheel as directed in your machine manual to position the needle in the fabric before lifting the presser foot.
Why do my finished corners still look rounded?
The stitching position may be inaccurate, or excess seam allowance may be creating bulk inside the corner. Check both the seam and the finishing method.
Build Confidence One Corner at a Time
Learning how to sew sharp corners starts with a controlled pause. Mark the turning point, slow down, and follow the pivoting sequence consistently.
Keep this SewDesk guide beside your machine while you practise turning at the needle. A few careful practice squares can make your next sewing project easier to manage.
More Articles
SewDesk Fabric Calculator: Calculate Fabric, Save Time & Sew Smarter!
Discover how the SewDesk Fabric Calculator makes fabric estimation simple and convenient. Learn how to calculate fabric requirements, reduce material wastage, save time, manage sewing budgets, and plan your stitching projects more efficiently. Whether you are a beginner, tailor, or fashion designer, SewDesk helps you sew smarter.
Read More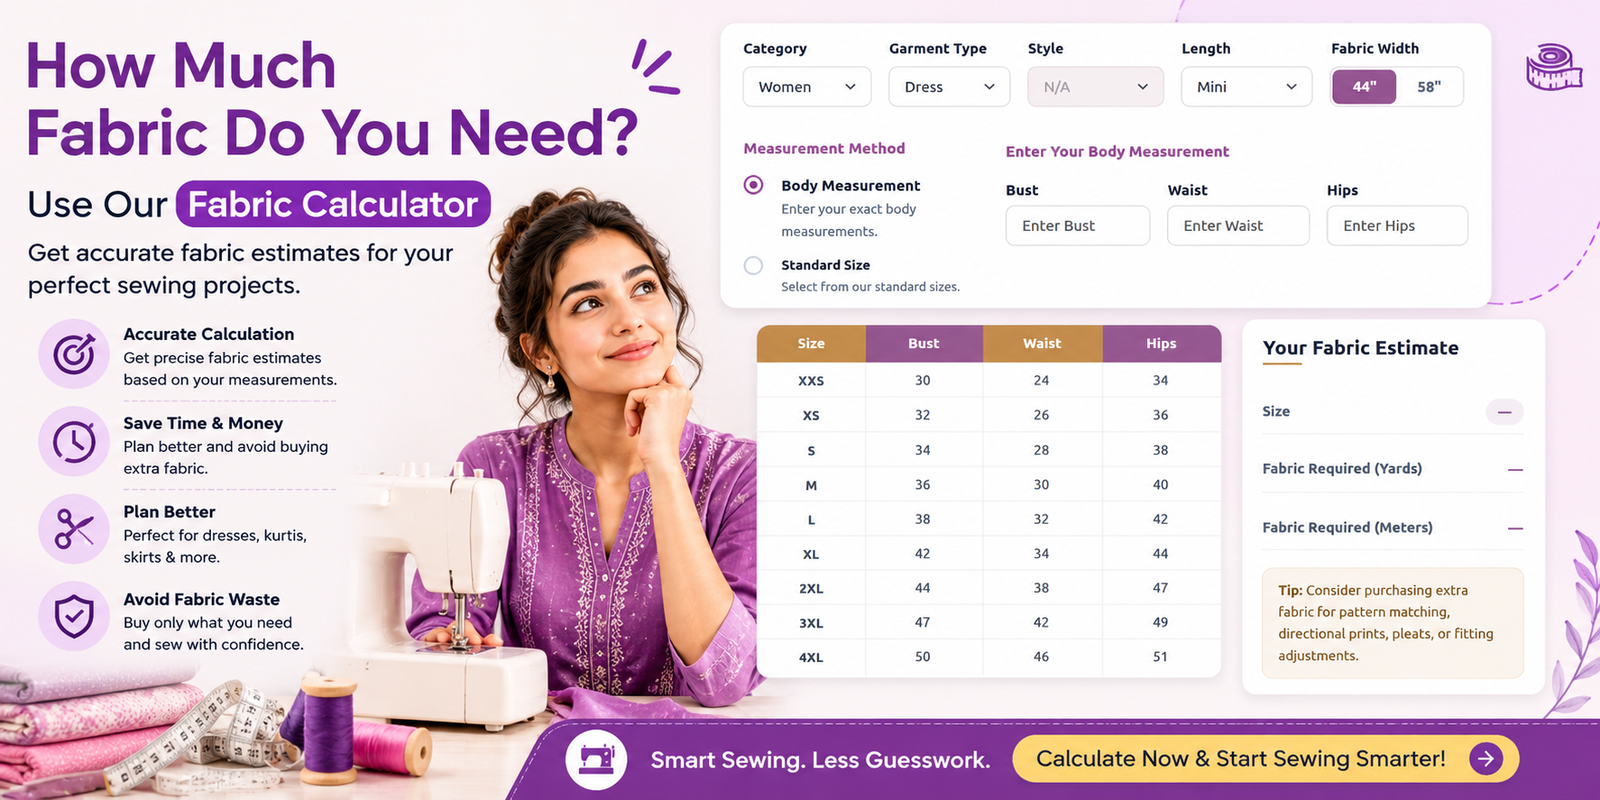
How Much Fabric Do You Need? A Complete Guide to Using a Fabric Calculator
Discover how much fabric you need for your next sewing project with a Fabric Calculator. Learn how to calculate fabric requirements for dresses, kurtis, blouses, and skirts based on garment style, body measurements, and fabric width. Explore practical tips to save time, reduce fabric waste, and plan smarter sewing projects with Sewdesk.
Read More
Top Things to Consider Before Buying a Sewing Machine
Learn about the top things to consider before buying a sewing machine. Explore different machine types, stitch options, budget, speed control, fabric compatibility, essential features, and warranty tips to choose the right sewing machine for your needs. Whether you're a beginner or an experienced sewing enthusiast, this guide will help you make an informed buying decision.
Read More