Stop the Snap: What Is Really Breaking Your Sewing Thread?
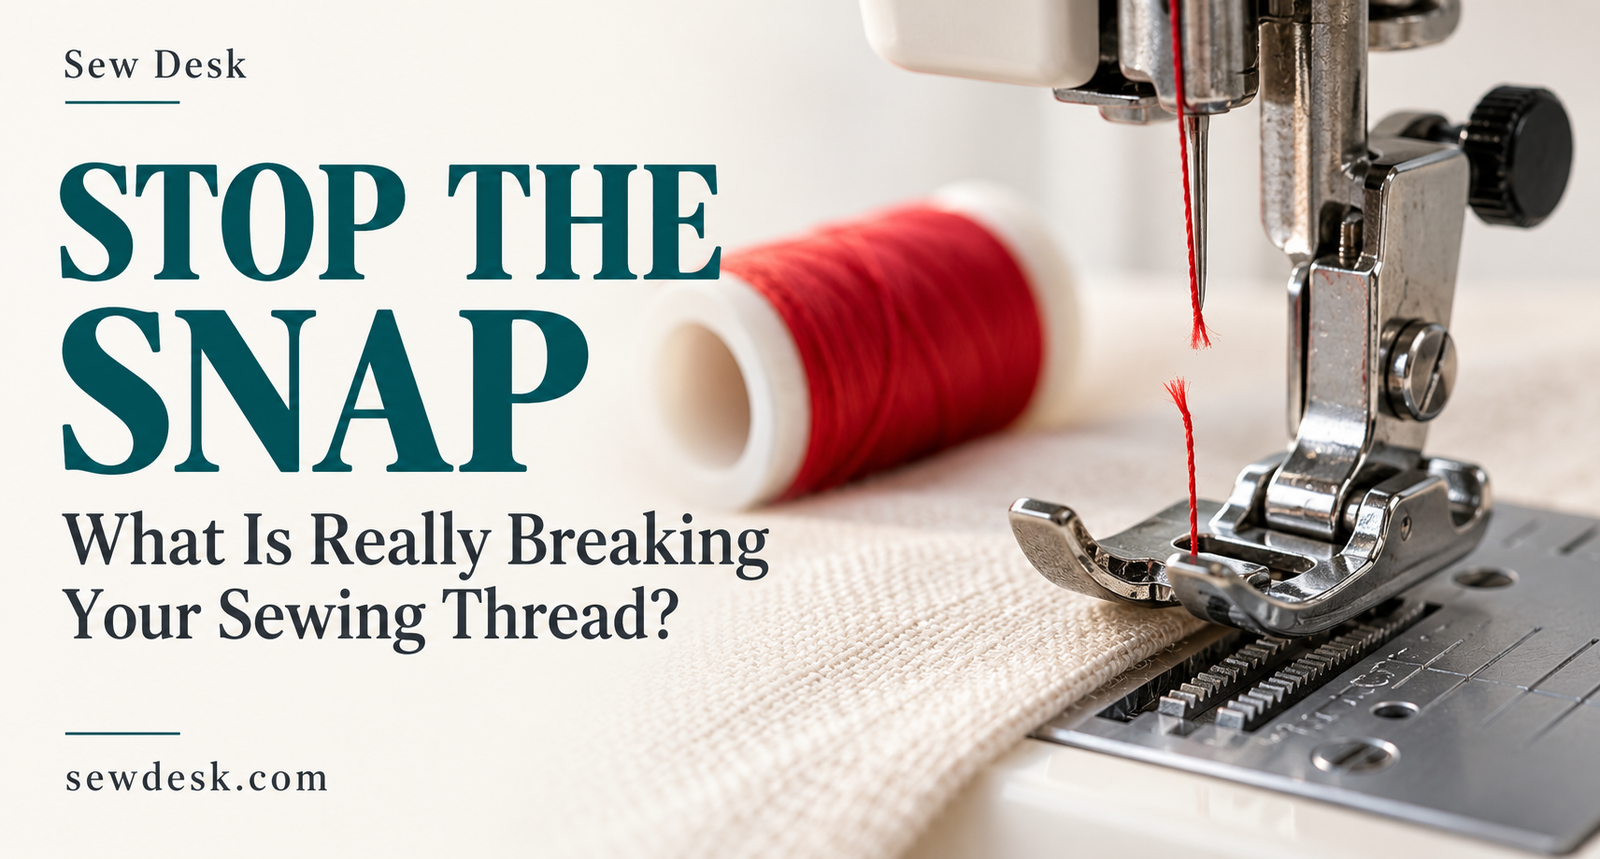
Thread snapping can interrupt even the simplest sewing project. This Sew Desk guide explains common causes, including incorrect threading, tight tension, unsuitable needles and spool problems. Follow a practical troubleshooting checklist to identify the issue, make adjustments and know when your machine needs servicing.
You are halfway through a seam when the thread snaps. You rethread the needle, start again—and it breaks a few stitches later.
Sound familiar? Sewing machine thread breaking can interrupt a simple repair or turn a creative project into a frustrating afternoon. But repeated breakage does not automatically mean your machine needs replacing. The cause may be in the threading, needle, tension or thread supply.
This Sew Desk guide helps you check the common causes, make practical adjustments and get back to smoother sewing.
Why Does My Sewing Thread Keep Breaking?
Thread travels through several guides before reaching the needle and forming a stitch. If it catches, experiences excessive tension or rubs against a damaged surface, it can fray and eventually snap.
Before adjusting anything, notice where the break happens. Does the thread shred near the needle? Does it catch around the spool? Does the problem begin only when you sew thicker fabric?
These observations give you a useful starting point for sewing machine troubleshooting.
1. Incorrect Threading Is Disrupting the Thread Path
A missed guide or take-up lever can interfere with the way thread moves through the machine. Even a machine you use regularly can be threaded incorrectly when you are in a hurry.
If your upper thread keeps breaking, remove it completely and thread the machine again according to its manual. Check the spool arrangement, every guide and the needle threading direction. Manufacturer guidance identifies incorrect threading and spool positioning as possible causes of upper-thread breakage.
Sew Desk tip: Start with a fresh threading check before changing multiple settings. It gives you a clear baseline for the next test.
2. Upper Thread Tension Is Too Tight
The tension system controls how freely the upper thread moves while stitches form. Excessive tension can contribute to thread snapping.
After checking the threading, compare your setting with the recommendation in your machine manual. If necessary, reduce the upper tension gradually and test on a scrap of the same fabric. Change one setting at a time so you can see what helps.
There is no single tension number that suits every machine and project. Your fabric, thread and sewing technique all matter.
3. The Needle Does Not Match the Thread or Fabric
Needle and thread compatibility is easy to overlook. A needle that is unsuitable for your thread or fabric can contribute to sewing problems, including breakage.
Check the recommended needle type and size for your project. Also inspect the needle for bending or damage, and confirm that it is fully inserted in the correct orientation for your machine. Replace a questionable needle before continuing.
For example, changing from a lightweight woven fabric to a stretch fabric may require a different needle type—not simply a tension adjustment.
4. The Sewing Thread Is Worn or Unsuitable
If the thread looks fuzzy, uneven or damaged, try a fresh spool suitable for machine sewing and your chosen fabric.
This is a useful comparison test: keep the fabric and settings the same, then sew with the replacement thread. If the problem improves, inspect the original spool before using it again.
Avoid assuming that a thicker thread will solve the issue. It still needs to suit the needle and the machine.
5. The Thread Is Catching Around the Spool
Sometimes the problem begins before the thread reaches the tension system. An incorrectly positioned spool or spool cap can allow the thread to tangle around the spool pin.
Check that the spool unwinds freely and that its position and cap match your machine’s instructions. Manufacturer guidance specifically warns that incorrect spool or cap placement can cause tangling.
Watch the spool during a short, slow test. A sudden catch can be easier to spot than it is during full-speed sewing.
6. Bobbin Setup Needs Attention
Bobbin thread problems can complicate troubleshooting, particularly when you are unsure which thread is actually breaking.
Check that you are using the correct bobbin for your machine. Confirm its insertion direction and thread path using the manual, and inspect it for uneven winding or visible damage. An incompatible bobbin is among the issues listed in manufacturer troubleshooting guidance.
Avoid adjusting the bobbin-case tension screw as your first response. Complete the basic setup checks first.
7. A Damaged Surface Is Fraying the Thread
If fresh thread repeatedly shreds at the same point, inspect the accessible thread path for damage. A rough needle plate or another damaged contact surface may need professional attention.
Manufacturer guidance includes needle-plate replacement or consultation with an authorised service provider when damage is involved.
Switch off and unplug the machine before inspecting or cleaning it. Follow the manual rather than attempting to file or reshape parts yourself.
How to Stop Sewing Thread from Breaking: A Simple Checklist
Work through these checks in order:
Identify whether the upper or bobbin thread is breaking.
Remove the upper thread and rethread according to the manual.
Check that the spool unwinds freely.
Fit a suitable, undamaged needle correctly.
Try a fresh spool of appropriate sewing thread.
Verify the bobbin type, winding and installation.
Test on matching scrap fabric and adjust upper tension gradually if needed.
Seek servicing if breakage continues or you find damaged parts.
Keep the test conditions consistent. Changing the needle, thread and tension simultaneously may fix the problem, but it makes the original cause harder to identify.
When Should You Get the Machine Serviced?
If the thread continues breaking after the basic checks, stop repeating the same adjustments. Persistent problems, visible damage or unusual operation deserve a closer inspection.
A technician can assess parts that are difficult to check at home. Manufacturer guidance recommends service support when troubleshooting does not resolve the issue.
FAQs About Sewing Machine Thread Breaking
Why does my upper thread keep breaking near the needle?
Start by checking the needle’s condition, installation and compatibility with the thread and fabric. Then recheck the upper threading and tension.
Can tight tension cause sewing thread to snap?
Yes. Excessive upper-thread tension can contribute to breakage. Check the threading first, then make small adjustments using your machine manual as a guide.
Why is my sewing thread fraying before it breaks?
Fraying is a reason to inspect the needle, thread quality and contact surfaces. It is a clue, but it does not establish the cause on its own.
Should I adjust bobbin tension when the thread breaks?
Begin with threading, needle, spool and bobbin installation checks. Adjust bobbin tension only when your machine’s instructions call for it.
Do I need a new machine if the thread keeps snapping?
Not necessarily. A setup issue or damaged needle may be responsible. Complete the basic checks and seek servicing if the problem persists.
Get Back to Sewing with Sew Desk
The next time your thread snaps, pause before turning the tension dial. Check the thread path, inspect the needle and test one change at a time.
Understanding the cause of sewing machine thread breaking helps you spend less time rethreading and more time finishing your project.
Explore more sewing content at Sew Desk and build confidence with every stitch.
More Articles
SewDesk Fabric Calculator: Calculate Fabric, Save Time & Sew Smarter!
Discover how the SewDesk Fabric Calculator makes fabric estimation simple and convenient. Learn how to calculate fabric requirements, reduce material wastage, save time, manage sewing budgets, and plan your stitching projects more efficiently. Whether you are a beginner, tailor, or fashion designer, SewDesk helps you sew smarter.
Read More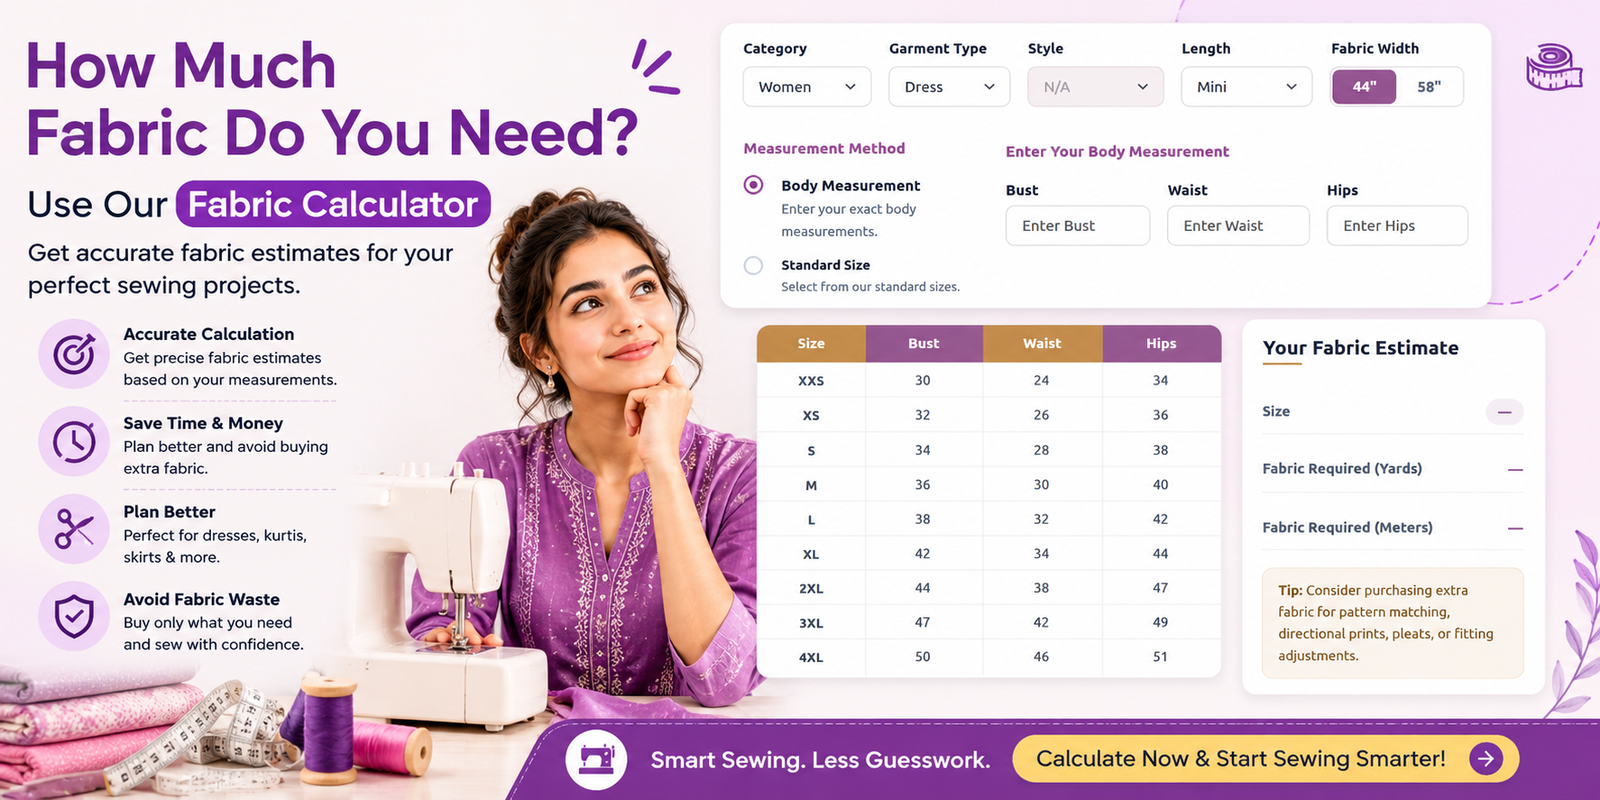
How Much Fabric Do You Need? A Complete Guide to Using a Fabric Calculator
Discover how much fabric you need for your next sewing project with a Fabric Calculator. Learn how to calculate fabric requirements for dresses, kurtis, blouses, and skirts based on garment style, body measurements, and fabric width. Explore practical tips to save time, reduce fabric waste, and plan smarter sewing projects with Sewdesk.
Read More
Top Things to Consider Before Buying a Sewing Machine
Learn about the top things to consider before buying a sewing machine. Explore different machine types, stitch options, budget, speed control, fabric compatibility, essential features, and warranty tips to choose the right sewing machine for your needs. Whether you're a beginner or an experienced sewing enthusiast, this guide will help you make an informed buying decision.
Read More