Skipped Stitches Again? Check These Things Before You Blame the Machine
Skipped stitches can result from damaged needles, incorrect threading or an unsuitable fabric, thread and needle combination. This article explains the essential checks to make before blaming your sewing machine, helping you troubleshoot common problems and recognise when professional servicing is needed.
Skipped stitches can interrupt a sewing project, leave gaps in a seam and create extra repair work. When the problem keeps returning, it is easy to assume the sewing machine needs servicing. However, the cause may be a damaged needle, incorrect threading or a needle that does not suit the fabric.
Before changing several settings or arranging a repair, work through a few basic checks. A systematic approach to sewing machine troubleshooting can help you identify the problem without unnecessary adjustments.
Common Causes of Skipped Stitches
A skipped stitch occurs when the machine fails to form a stitch at a point along the seam. You may notice an unusually long gap between otherwise normal stitches.
Manufacturer guidance identifies incorrect threading, damaged or incorrectly installed needles, and unsuitable fabric, thread and needle combinations as common causes. Start with these checks before assuming there is an internal fault.
1. Check the Needle Before Adjusting the Machine
The needle is a practical starting point when you notice your sewing machine skipping stitches.
A slightly bent or blunt needle may still move through the fabric, but it can interfere with stitch formation. If the problem began after a needle strike or after sewing through a difficult section, replace the needle with a new one suitable for the material.
Also check its installation. The needle must be fully inserted, correctly oriented and securely tightened according to the machine manual. Installation directions can vary between machine types, so avoid assuming that every needle fits the same way.
2. Match the Needle to the Fabric
Using the wrong needle type can cause problems even when the needle is new.
For example, stretch and knitted fabrics may need a ballpoint or stretch needle, depending on the material and the machine’s recommendations. A regular-point needle can cause skipped stitches on some knits.
Check the recommended needle type and size for your fabric. If the machine stitches correctly on a woven test piece but skips on your project fabric, review needle selection before changing other settings.
3. Rethread the Upper Thread Carefully
Incorrect upper threading is another reason stitches may fail to form properly. Instead of checking only the visible thread near the needle, remove the upper thread and rethread the complete path.
Follow the sequence in the manual, making sure the thread passes through each guide and the take-up lever. Raise the presser foot while threading where the manufacturer instructs you to do so.
A small threading mistake can be difficult to spot once the machine is ready to sew. Starting again gives you a clear way to eliminate it.
4. Check the Fabric, Thread and Needle Combination
Needle selection should account for the thread as well as the fabric. A combination suitable for lightweight material may not suit a heavier sewing task.
Use your machine manual’s fabric, thread and needle chart as a starting point. Avoid choosing a larger needle simply because stitches are skipping; the correct combination matters more than size alone.
If you recently changed the fabric or thread, review the setup before continuing.
5. Confirm That You Are Using the Correct Bobbin
A bobbin that looks similar to the original may still be unsuitable for the machine. Using the wrong bobbin can contribute to stitch problems, thread jams and inconsistent tension.
Check the bobbin specification in your manual and confirm that it is installed as directed. Do not assume that bobbins are interchangeable between models.
How to Fix Skipped Stitches Without Guesswork
Changing several things at once makes it harder to identify the cause. Use a simple sequence:
Switch off the machine before replacing or checking the needle.
Fit a new needle of the recommended type and size.
Rethread the upper thread according to the manual.
Confirm the correct bobbin and its installation.
Test on a scrap of the same fabric, using the same number of layers as the project.
Change one setting at a time and inspect the result.
Keep the test pieces so you can compare the stitching after each change. This helps you see whether the problem has improved, stayed the same or become worse.
When Does the Machine Need Servicing?
If skipped stitches continue after the basic checks, the machine may need professional inspection. Needle-and-hook timing problems can prevent reliable stitch formation.
Persistent skipping does not prove that timing is the cause, but it is a reason to have a qualified technician assess the machine. Avoid adjusting internal timing without the appropriate service knowledge.
Frequently Asked Questions
Why is my sewing machine skipping stitches with a new needle?
The new needle may be the wrong type or size, incorrectly installed, or unsuitable for the thread and fabric. Upper threading should also be checked.
Can incorrect threading cause skipped stitches?
Yes. Remove the upper thread and rethread the machine completely, following the manufacturer’s instructions.
Why do skipped stitches happen on stretch fabric?
The needle may not suit the material. Check whether a ballpoint or stretch needle is recommended and test it on a matching fabric scrap.
Should I adjust tension first?
Start with the needle, threading and fabric-thread-needle combination. Make tension adjustments according to the manual, changing one setting at a time.
When should I contact a technician?
Arrange an inspection if the machine continues skipping stitches after correct needle selection, installation, threading and bobbin checks.
Reliable stitching starts with a suitable setup. Checking these basics first gives you a clearer understanding of the problem and helps you decide whether a simple correction or professional servicing is needed.
More Articles
SewDesk Fabric Calculator: Calculate Fabric, Save Time & Sew Smarter!
Discover how the SewDesk Fabric Calculator makes fabric estimation simple and convenient. Learn how to calculate fabric requirements, reduce material wastage, save time, manage sewing budgets, and plan your stitching projects more efficiently. Whether you are a beginner, tailor, or fashion designer, SewDesk helps you sew smarter.
Read More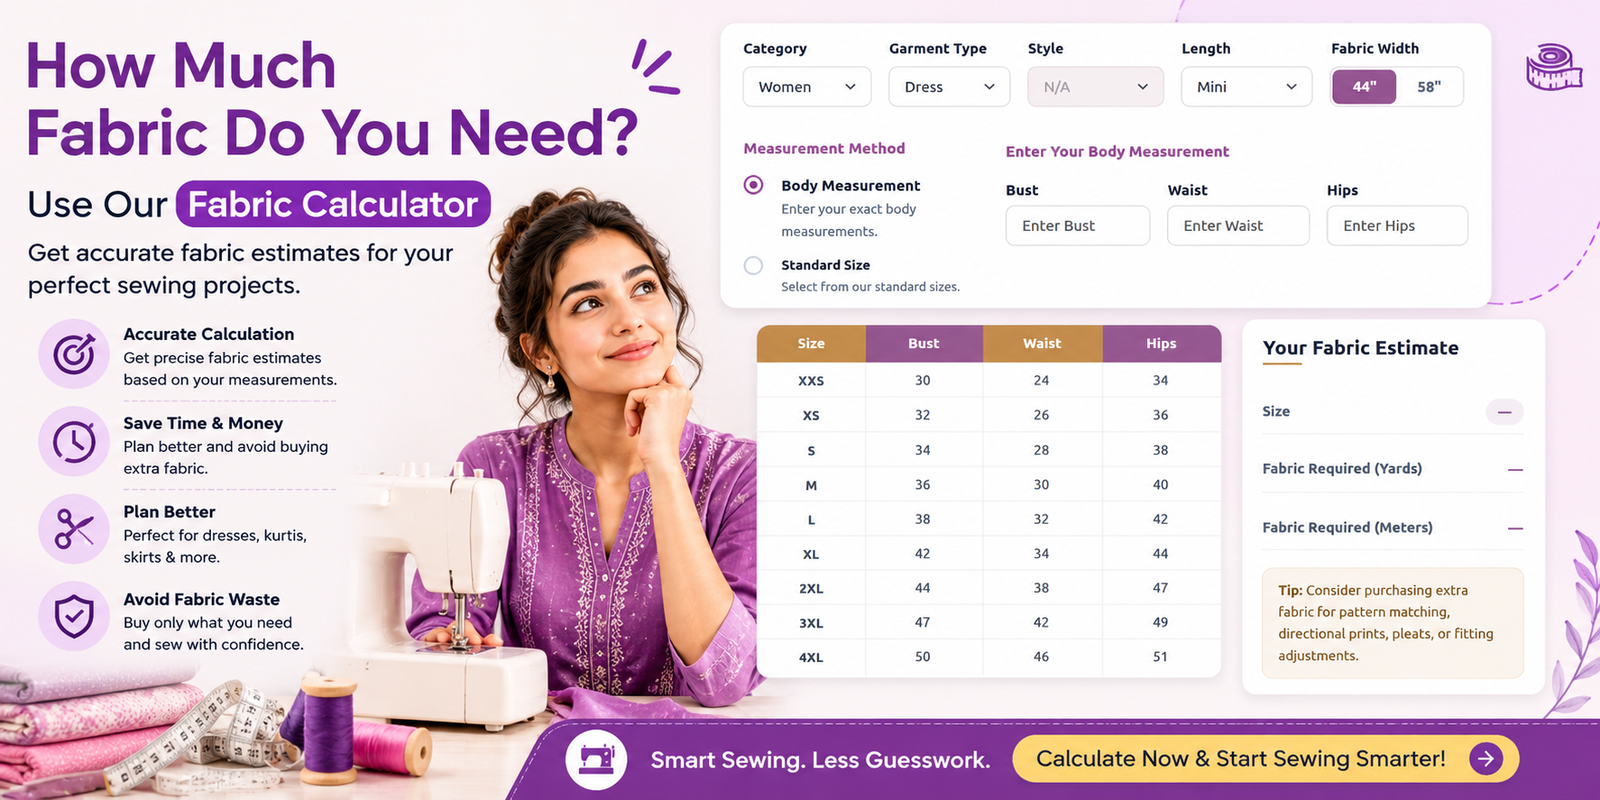
How Much Fabric Do You Need? A Complete Guide to Using a Fabric Calculator
Discover how much fabric you need for your next sewing project with a Fabric Calculator. Learn how to calculate fabric requirements for dresses, kurtis, blouses, and skirts based on garment style, body measurements, and fabric width. Explore practical tips to save time, reduce fabric waste, and plan smarter sewing projects with Sewdesk.
Read More
Top Things to Consider Before Buying a Sewing Machine
Learn about the top things to consider before buying a sewing machine. Explore different machine types, stitch options, budget, speed control, fabric compatibility, essential features, and warranty tips to choose the right sewing machine for your needs. Whether you're a beginner or an experienced sewing enthusiast, this guide will help you make an informed buying decision.
Read More