Scared of Zippers? Why They Are Easier Than You Think
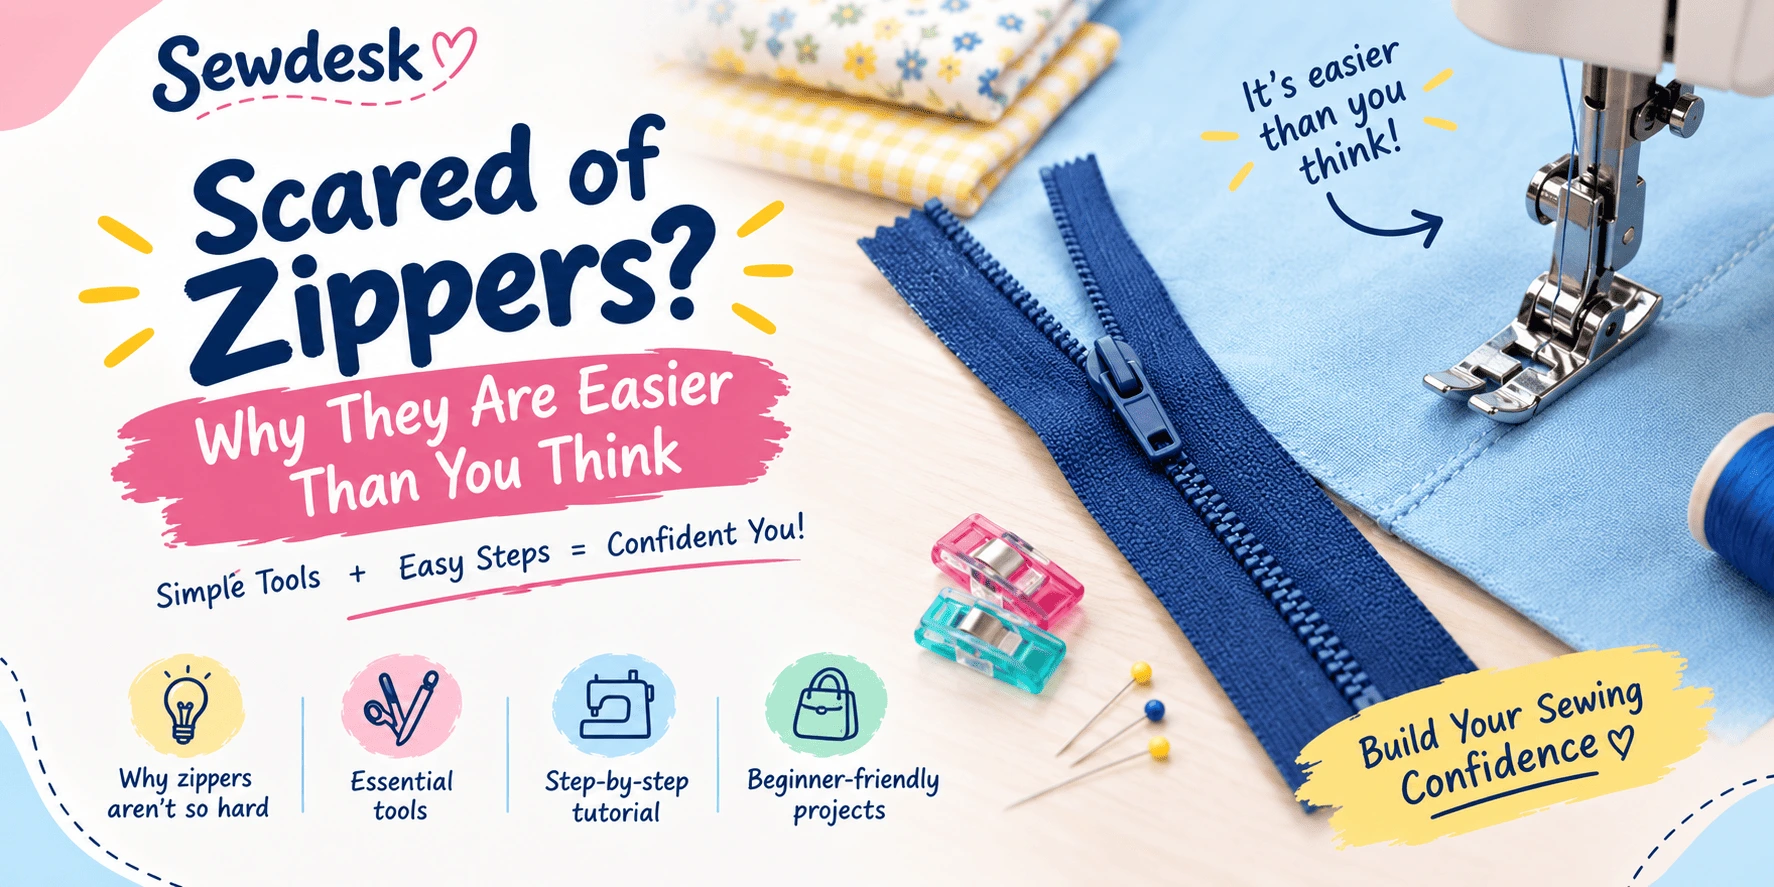
Scared of sewing zippers? Discover why they are easier than you think with this easy zipper sewing tutorial from Sewdesk. Learn how to sew a zipper step by step, choose the right tools, avoid common mistakes, and improve your sewing skills. Perfect for beginners, this guide will help you sew zippers confidently for pouches, cushion covers, bags, skirts, and dresses.
Have you ever avoided a sewing project because it required a zipper? You are not alone! Many beginners believe that sewing zippers is difficult, complicated, or only suitable for experienced sewists. However, with the right tools and a little practice, zipper sewing can become a simple and rewarding skill.
At Sewdesk, we believe that sewing should be enjoyable and accessible to everyone. Learning an easy zipper sewing tutorial can help you build confidence, improve your sewing skills, and create beautiful handmade projects. Whether you want to make cushion covers, pouches, skirts, or dresses, understanding the basics of zipper installation can make a big difference.
In this guide, you will learn why zippers are easier than they look, which tools you need, and how to sew a zipper step by step.
Why Are Beginners Afraid of Sewing Zippers?
Zippers often seem intimidating because they require accurate positioning, straight stitching, and careful handling of fabric. Beginners may worry about sewing over the zipper teeth, creating uneven seams, or ending up with a zipper that does not open smoothly.
The good news is that most of these problems can be avoided with preparation and practice.
Here are some common reasons beginners struggle with zippers:
Uneven stitching: The fabric or zipper may shift while sewing.
Incorrect alignment: The zipper may not line up properly with the fabric edges.
Wrong presser foot: A standard presser foot can make stitching close to the zipper teeth difficult.
Lack of practice: Beginners may try sewing a zipper on an important garment before practising on scrap fabric.
Once you understand the basic technique, these challenges become much easier to manage.
Essential Tools for an Easy Zipper Sewing Tutorial
Before starting your zipper project, gather a few basic sewing supplies. Having the right tools ready will help you work more comfortably and achieve neater results.
1. A Suitable Zipper
Choose a zipper that suits your project. Nylon coil zippers are commonly used for pouches and bags, while dress zippers may be suitable for lightweight garments. Check the zipper length and type before cutting your fabric.
2. Sewing Machine
A sewing machine makes zipper installation faster and helps create consistent stitches. You can also sew some zippers by hand, although the process may take longer.
3. Zipper Foot
A zipper foot allows you to stitch close to the zipper teeth without the presser foot getting in the way. Check your sewing machine manual to confirm which zipper foot is compatible with your machine.
4. Fabric Clips or Pins
Use fabric clips or pins to hold the zipper in position before stitching. Clips are particularly useful when working with thicker fabrics or materials that may shift easily.
5. Iron and Measuring Tools
An iron helps press fabric edges neatly, while a ruler or measuring tape helps you position the zipper accurately.
How to Sew a Zipper for Beginners: Step-by-Step Guide
Learning how to sew a zipper for beginners is easier when you divide the process into simple steps. Start with a basic zipper and two pieces of scrap fabric before moving on to a finished garment.
Step 1: Prepare Your Fabric
Cut two pieces of fabric according to your project measurements. Finish any raw edges if needed, and press the fabric with an iron to remove wrinkles.
Accurate preparation helps prevent puckering and makes it easier to keep the zipper straight.
Step 2: Position the Zipper
Place the zipper along the fabric edge where you want the opening to be. For a basic zipper application, align the zipper tape with the fabric edge and secure it with clips or pins.
Check that the zipper pull is positioned correctly and that both fabric pieces will line up when the zipper is closed.
Step 3: Attach the Zipper Foot
Install the appropriate zipper foot on your sewing machine. Select a suitable straight stitch and test the setup on scrap fabric.
Make sure the needle will not strike the presser foot. Consult your machine manual if you are unsure about the correct needle position.
Step 4: Stitch the First Side
Sew along the first side of the zipper tape, keeping your stitching line even. Move slowly and remove pins or clips before they reach the needle.
Avoid pulling the fabric as it moves through the machine. Let the feed dogs guide the fabric naturally.
Step 5: Stitch the Second Side
Position the other fabric edge against the opposite side of the zipper. Secure it and stitch carefully, keeping the seam straight.
Close the zipper and check that the fabric edges align evenly. If the zipper looks uneven, correct the positioning before continuing with the rest of your project.
Step 6: Test Your Zipper
Open and close the zipper several times to check that it moves smoothly. Look for loose threads, uneven stitching, or fabric caught in the zipper teeth.
Press the finished area gently if the fabric allows it. Your first zipper installation is complete!
Common Zipper Sewing Mistakes to Avoid
Even a simple zipper sewing tutorial can become frustrating if you overlook a few important details. Avoiding these mistakes will help you achieve a cleaner finish.
Sewing Too Close to the Zipper Teeth
Stitching too close to the teeth can prevent the zipper slider from moving freely. Use a zipper foot and maintain a safe, consistent distance from the teeth.
Skipping Fabric Preparation
Wrinkled fabric and uneven edges can lead to crooked stitching. Press your fabric and check your measurements before sewing.
Sewing Too Quickly
High speed can make it harder to control the fabric, especially around the zipper slider. Sew slowly and pause when necessary.
Forgetting to Test the Zipper
Always test the zipper before completing the entire project. This gives you an opportunity to fix alignment or stitching problems while they are still easy to correct.
Choosing the Wrong Zipper
Different projects require different zipper styles. Consider the fabric weight, intended use, opening length, and desired appearance before making your selection.
Easy Zipper Sewing Tips for Better Results
With a little practice, zipper installation can become a regular part of your sewing routine. Follow these practical tips to improve your results.
Practise on scrap fabric: Try the technique before working on your final project.
Use the right zipper foot: It helps you sew closer to the zipper teeth with better control.
Mark your seam line: Use a fabric-safe marking tool to guide your stitching.
Keep the fabric flat: Smooth the fabric before stitching to reduce puckering.
Use a suitable needle and thread: Match your supplies to the fabric and zipper.
Check your machine settings: Test stitch length and needle position before starting.
Work patiently: Slow, controlled stitching is often more accurate than rushing.
At Sewdesk, we encourage beginners to focus on learning one technique at a time. Every small project gives you an opportunity to practise and develop your sewing confidence.
Beginner-Friendly Sewing Projects That Use Zippers
Once you feel comfortable with a basic zipper, you can use your new skill in several practical sewing projects.
Zipper Pouches
Small pouches are excellent practice projects. They are useful for storing stationery, makeup, sewing accessories, or everyday essentials.
Cushion Covers
A zipper makes it easier to remove a cushion cover for washing or replacement. Choose a beginner-friendly design and practise accurate placement.
Simple Skirts
Some skirt patterns use a zipper to create a neat opening. Follow the pattern instructions and practise on spare fabric if you are new to garment sewing.
Tote Bags and Small Bags
Zippers can help keep personal belongings secure inside bags. Begin with a simple bag pattern before trying more complicated designs.
Handmade Dresses
Many dress patterns use zippers to make garments easier to put on and take off. Once you understand basic zipper installation, you can gradually explore garment-specific techniques.
Is Sewing a Zipper Difficult for Beginners?
No, sewing a basic zipper does not have to be difficult. Beginners can learn the process by using suitable tools, following clear instructions, and practising on scrap fabric.
Some zipper applications, such as invisible zippers or zippers in curved seams, may require extra practice. Start with a simple application and progress to more advanced techniques as your confidence grows.
The key is to avoid expecting perfection on your first attempt. Small mistakes are part of learning, and each project will help you improve.
Final Thoughts: Build Your Sewing Confidence with Sewdesk
Zippers may look complicated at first, but they become much easier when you understand the basic steps. With careful preparation, the correct presser foot, and patient stitching, you can learn to install zippers in a variety of handmade projects.
This easy zipper sewing tutorial is a starting point for building a useful sewing skill. Begin with scrap fabric, practise the basic technique, and move on to pouches, cushion covers, bags, and garments when you feel ready.
At Sewdesk, our goal is to make sewing easier to understand for beginners and everyday makers. Keep practising, explore new techniques, and remember that every stitch brings you one step closer to becoming a more confident sewist.
Ready to improve your sewing skills? Start with a simple zipper project today and discover how rewarding sewing can be!
More Articles
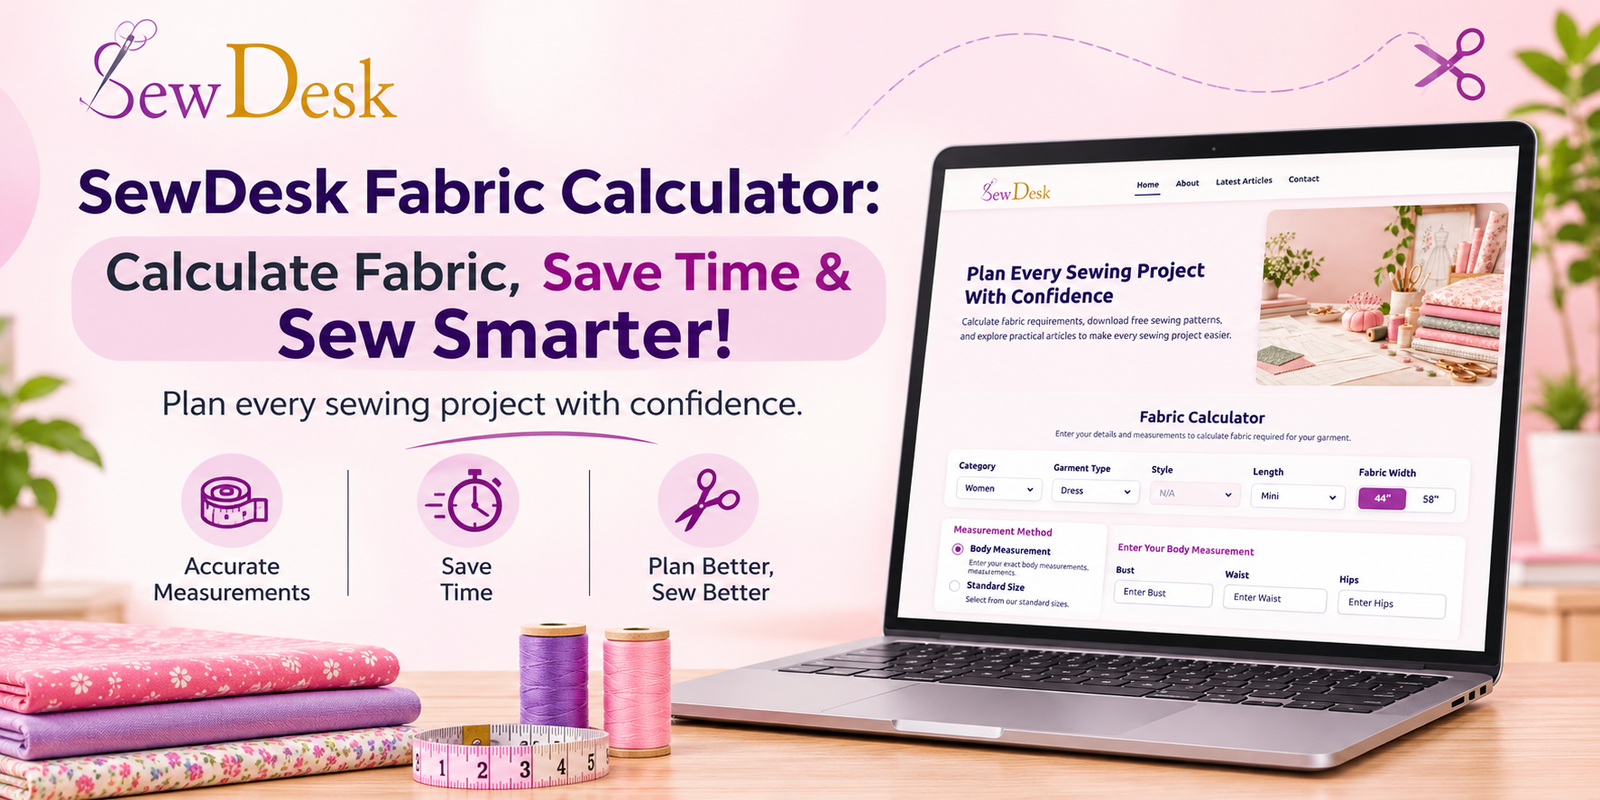
SewDesk Fabric Calculator: Calculate Fabric, Save Time & Sew Smarter!
Discover how the SewDesk Fabric Calculator makes fabric estimation simple and convenient. Learn how to calculate fabric requirements, reduce material wastage, save time, manage sewing budgets, and plan your stitching projects more efficiently. Whether you are a beginner, tailor, or fashion designer, SewDesk helps you sew smarter.
Read More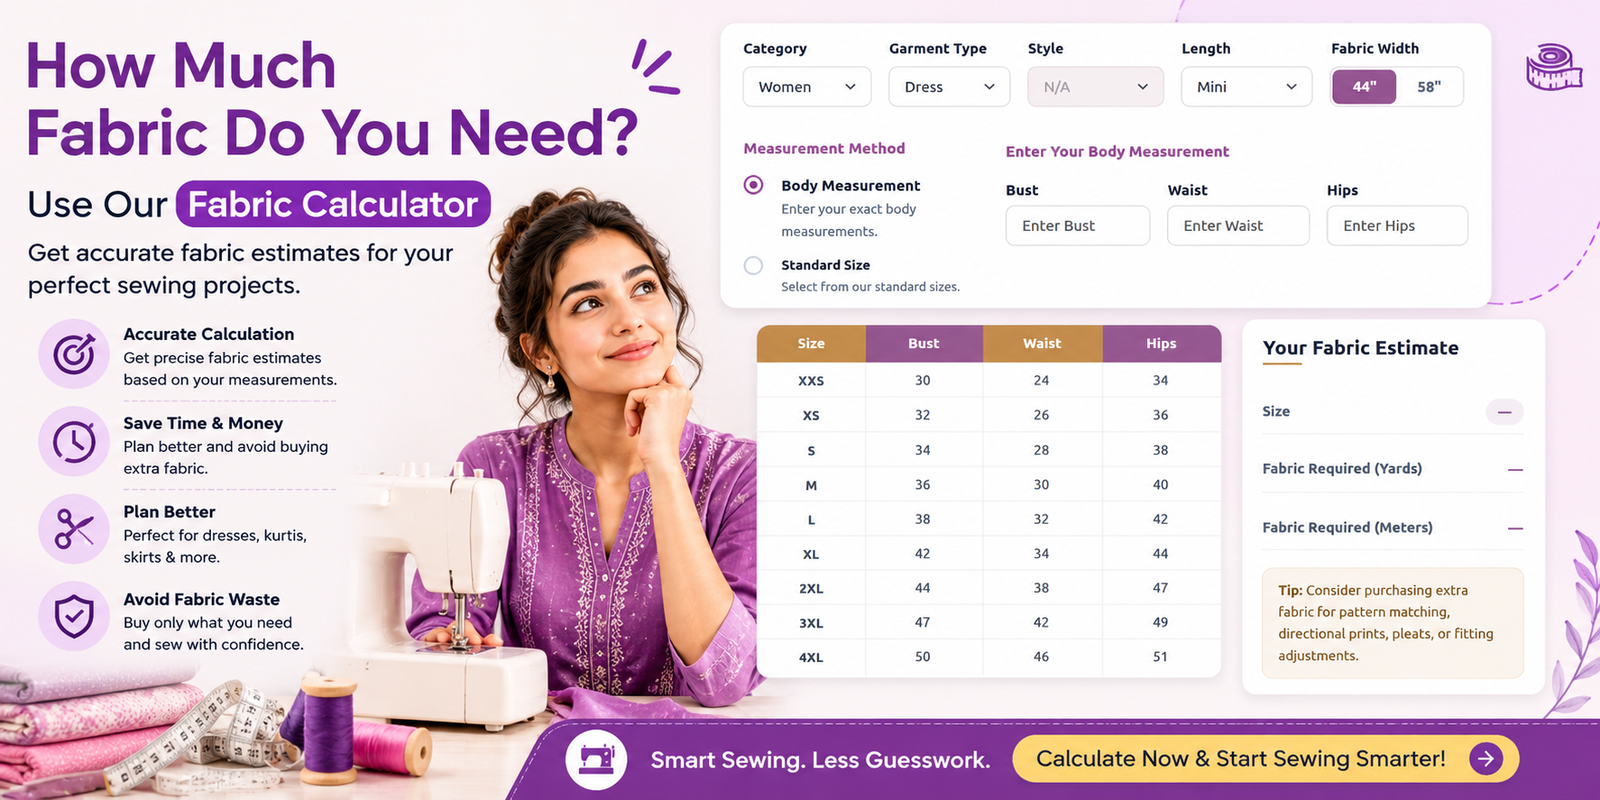
How Much Fabric Do You Need? A Complete Guide to Using a Fabric Calculator
Discover how much fabric you need for your next sewing project with a Fabric Calculator. Learn how to calculate fabric requirements for dresses, kurtis, blouses, and skirts based on garment style, body measurements, and fabric width. Explore practical tips to save time, reduce fabric waste, and plan smarter sewing projects with Sewdesk.
Read More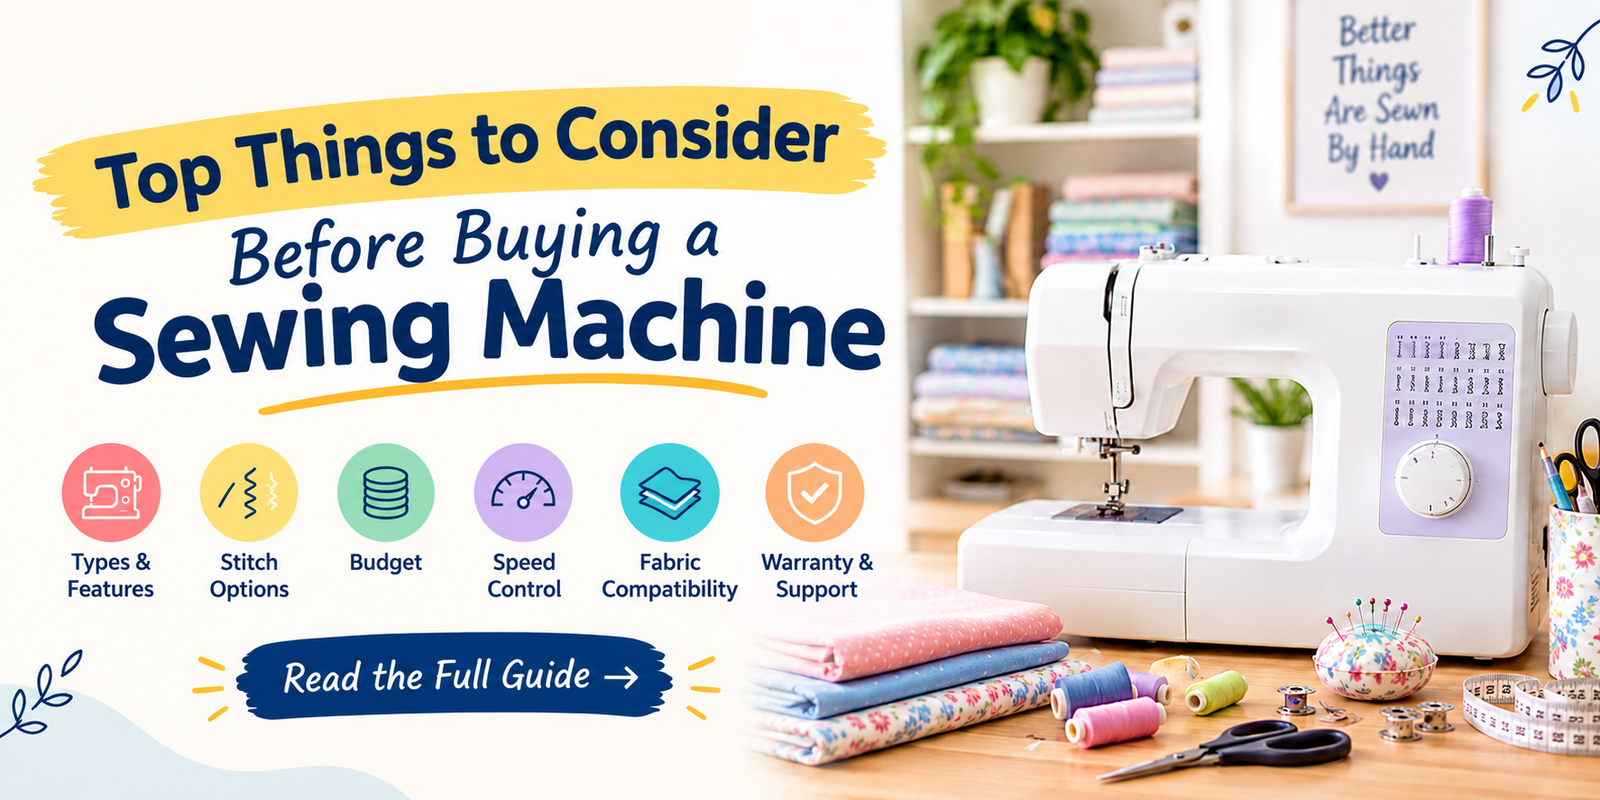
Top Things to Consider Before Buying a Sewing Machine
Learn about the top things to consider before buying a sewing machine. Explore different machine types, stitch options, budget, speed control, fabric compatibility, essential features, and warranty tips to choose the right sewing machine for your needs. Whether you're a beginner or an experienced sewing enthusiast, this guide will help you make an informed buying decision.
Read More