How to Sew Buttonholes: They Do Not Have to Ruin Your Project
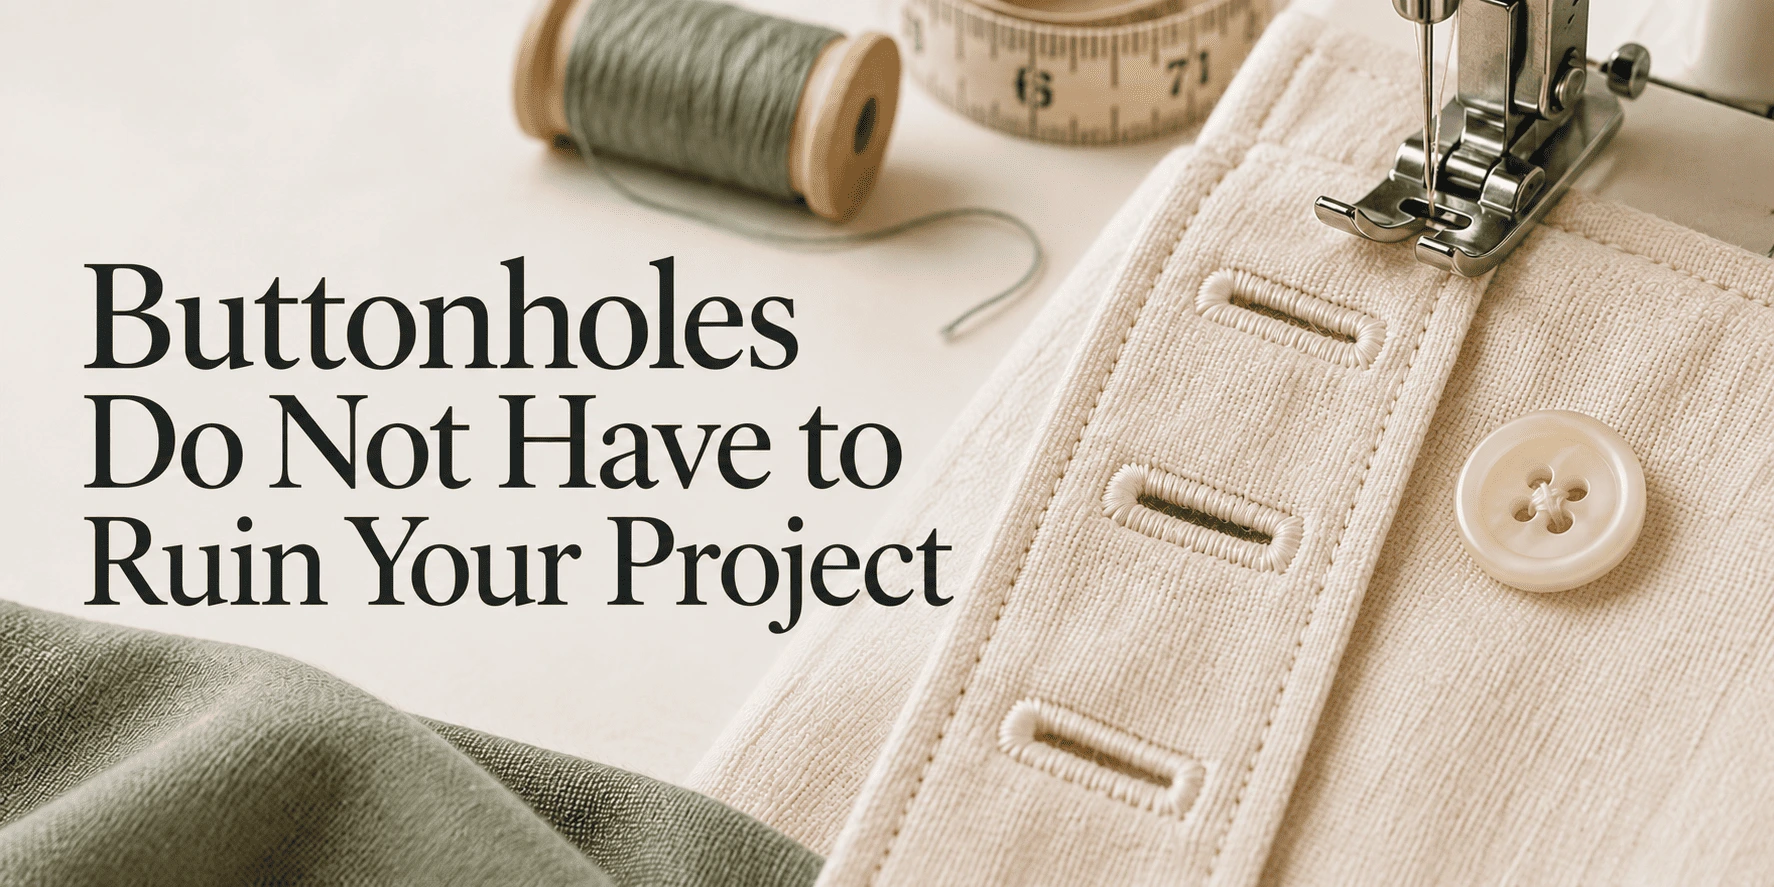
Learn how to sew neat, secure buttonholes without spoiling your sewing project. This guide shares seven practical tips covering fabric preparation, buttonhole sizing, accurate placement, stitch settings and safe cutting, plus solutions for common problems such as puckering, skipped stitches and uneven buttonholes.
You have finished the seams, pressed the edges and attached the collar. Then comes the step that makes many sewists hesitate: buttonholes.
A poorly placed or uneven buttonhole can spoil an otherwise neat finish. However, learning how to sew buttonholes becomes much easier when you prepare the fabric, test your settings and check the fit before stitching your project.
Whether you are making a shirt, dress, cushion cover or lightweight jacket, these seven practical tips will help you approach buttonholes with greater confidence.
1. Choose the Right Buttonhole for Your Project
Start by checking which buttonhole options your sewing machine offers. Your machine manual explains which foot, stitch and settings to use.
One-step buttonholes
Many machines with a one-step buttonhole function use a foot that holds the button and helps determine the buttonhole length. Follow your machine’s instructions for attaching the foot and lowering the buttonhole lever.
Four-step buttonholes
A four-step buttonhole requires you to select the stitching stages in sequence. Accurate marking and consistent fabric handling help keep both sides even.
Other buttonhole styles
Some machines offer rounded or keyhole buttonholes for different garments and fabrics. Choose a style suited to your project and supported by your machine.
If you are sewing buttonholes for beginners, practise with a basic style before trying decorative alternatives.
2. Prepare and Support the Fabric
Buttonholes need a stable foundation. Without adequate support, the fabric may stretch, pucker or pull into the needle plate.
Where the pattern calls for interfacing, apply it before marking and stitching the buttonholes. Choose an interfacing appropriate for the fabric’s weight and the structure you need.
A temporary stabilizer may also help with lightweight, slippery or stretchy fabrics. Test it first, including its removal method, to check that it will not mark or distort the material.
Make your test sample match the finished project: use the same fabric layers, interfacing and stabilizer. A buttonhole stitched on a single scrap may behave differently from one sewn through a finished placket.
3. Measure Buttonhole Size Using the Actual Button
A buttonhole must allow the button to pass through comfortably while keeping the closure secure.
Button diameter is a starting point, but thickness matters too. A thick or domed button may need more clearance than a thin, flat button of the same diameter.
For an automatic buttonhole foot, insert the button as directed in your machine manual. For manually sized buttonholes, mark a trial length and test it before stitching the garment.
After opening the practice buttonhole, check that:
The button passes through without force.
The fabric does not stretch excessively during fastening.
The opening is not so loose that the button slips out easily.
Adjust the test buttonhole until the fit feels right.
4. Mark Buttonhole Placement Carefully
Even stitching cannot correct poor placement. Before you sew, lay the project flat and confirm the overlap, centre line and button positions.
Use a fabric-safe marking tool and test that the marks can be removed. Mark each buttonhole’s position, orientation and length as needed.
Check the spacing across the entire closure rather than measuring each buttonhole in isolation. Pay particular attention to areas that may pull during wear, such as the bust, waist or waistband.
Should buttonholes be vertical or horizontal?
Follow your sewing pattern where guidance is provided. Vertical buttonholes are common on shirt front plackets, while horizontal buttonholes are often used where the closure needs to resist sideways pull.
The best orientation depends on the garment’s construction and the direction of tension.
5. Test Your Buttonhole Stitch Settings
One of the most useful buttonhole sewing tips is simple: stitch a complete sample before working on the final piece.
Begin with the settings recommended in your machine manual. Some machines control buttonhole stitch length and width automatically; others allow adjustments.
Inspect the sample for:
Balanced stitches on both sides.
Smooth fabric around the opening.
Secure ends.
Enough space to cut between the stitched columns.
Very dense stitching can make some fabrics stiff or encourage puckering. Stitching that is too open may provide insufficient coverage. Change one setting at a time so you can see what improves the result.
Also check that the needle suits your fabric, is correctly installed and is in good condition. If stitches are irregular, rethread the machine and check the bobbin before making major tension changes.
6. Guide the Fabric Without Pulling
Once the sample looks good, position the project under the buttonhole foot using your machine’s alignment marks.
Support the fabric’s weight and keep bulky sections from dragging against the machine. Let the feed mechanism move the material; pulling or pushing can distort the stitching.
For a machine with adjustable speed, use a pace that lets you maintain control. On automatic cycles, allow the machine to complete the sequence according to the manual.
If you need several buttonholes, recheck alignment before each one. A small positioning error becomes more noticeable when repeated along a placket.
7. Open the Buttonhole Carefully
Cutting the opening deserves as much attention as stitching it.
Place the project on a stable surface with good lighting. Use a sharp seam ripper, suitable small scissors or a buttonhole cutter, following the tool’s instructions.
When using a seam ripper, a pin placed just inside the end bar tack can help limit an accidental cut. Work slowly and keep fingers away from the cutting direction.
Avoid cutting into the side stitches or end bars. Then remove loose fibres and test the button again.
If the opening is too tight, check for uncut threads or fabric before enlarging it. Do not force the button through.
Common Buttonhole Mistakes and How to Fix Them
Puckering around the buttonhole
Check the fabric support, stitch density and thread tension. Repeat the test with appropriate interfacing or stabilizer, and avoid pulling the fabric while sewing.
Skipped stitches
Check the needle’s type, condition and installation. Rethread the machine and confirm that the fabric layers are properly supported.
Uneven buttonhole sides
Check that the foot is attached correctly and that the fabric can feed freely. Some machines have a buttonhole balance adjustment; consult the manual before changing it.
Fabric getting stuck
Inspect for thread tangles, an incorrectly positioned foot or insufficient support under fine fabric. Stop sewing and resolve the obstruction rather than pulling the project free.
Incorrect buttonhole length
Test with the actual button. For automatic buttonholes, check that the button is seated correctly in the foot and that the required lever is positioned as instructed.
A Quick Checklist Before You Sew Buttonholes
Before stitching the final project, confirm that:
The fabric is pressed and supported.
The actual buttons are available for testing.
Placement and spacing are marked.
The correct foot and stitch are selected.
A sample buttonhole stitches cleanly.
The button fits through the opened sample.
Your cutting tool is ready.
A few minutes of preparation can prevent difficult repairs at the final stage.
Frequently Asked Questions
How do I sew buttonholes on a sewing machine?
Attach the recommended buttonhole foot, select the appropriate stitch and follow your machine’s setup instructions. Mark the position, stitch a sample using matching fabric layers, check the button’s fit and then sew the project.
Do I need a stabilizer for buttonholes?
Not every fabric needs an additional temporary stabilizer. However, lightweight, stretchy or unstable fabrics may benefit from one. Use the interfacing specified by your pattern and test extra support on a scrap first.
Why are my buttonholes puckering?
Possible causes include insufficient fabric support, overly dense stitches, unsuitable tension or pulling during sewing. Test one change at a time to identify the cause.
How do I choose the correct buttonhole size?
Use the actual button and account for both its diameter and thickness. Stitch and open a sample, then check that the button passes through comfortably and stays securely fastened.
Can I sew buttonholes without an automatic buttonhole foot?
Some machines support four-step or manual buttonhole methods. Check your machine manual for the appropriate foot and procedure.
How do I open a buttonhole without cutting the stitches?
Use a sharp, suitable tool and work slowly between the stitched sides. A pin placed just inside the end bar tack can help limit overcutting when using a seam ripper.
Give Your Project a Finish You Are Proud Of
Knowing how to sew buttonholes comes down to preparation, accurate placement and a reliable test sample. Once the fabric support, stitching and button fit are right, the final step feels much more manageable.
Before your next buttonhole, pause for one practice run. That small habit can make a visible difference to the finished project.
More Articles
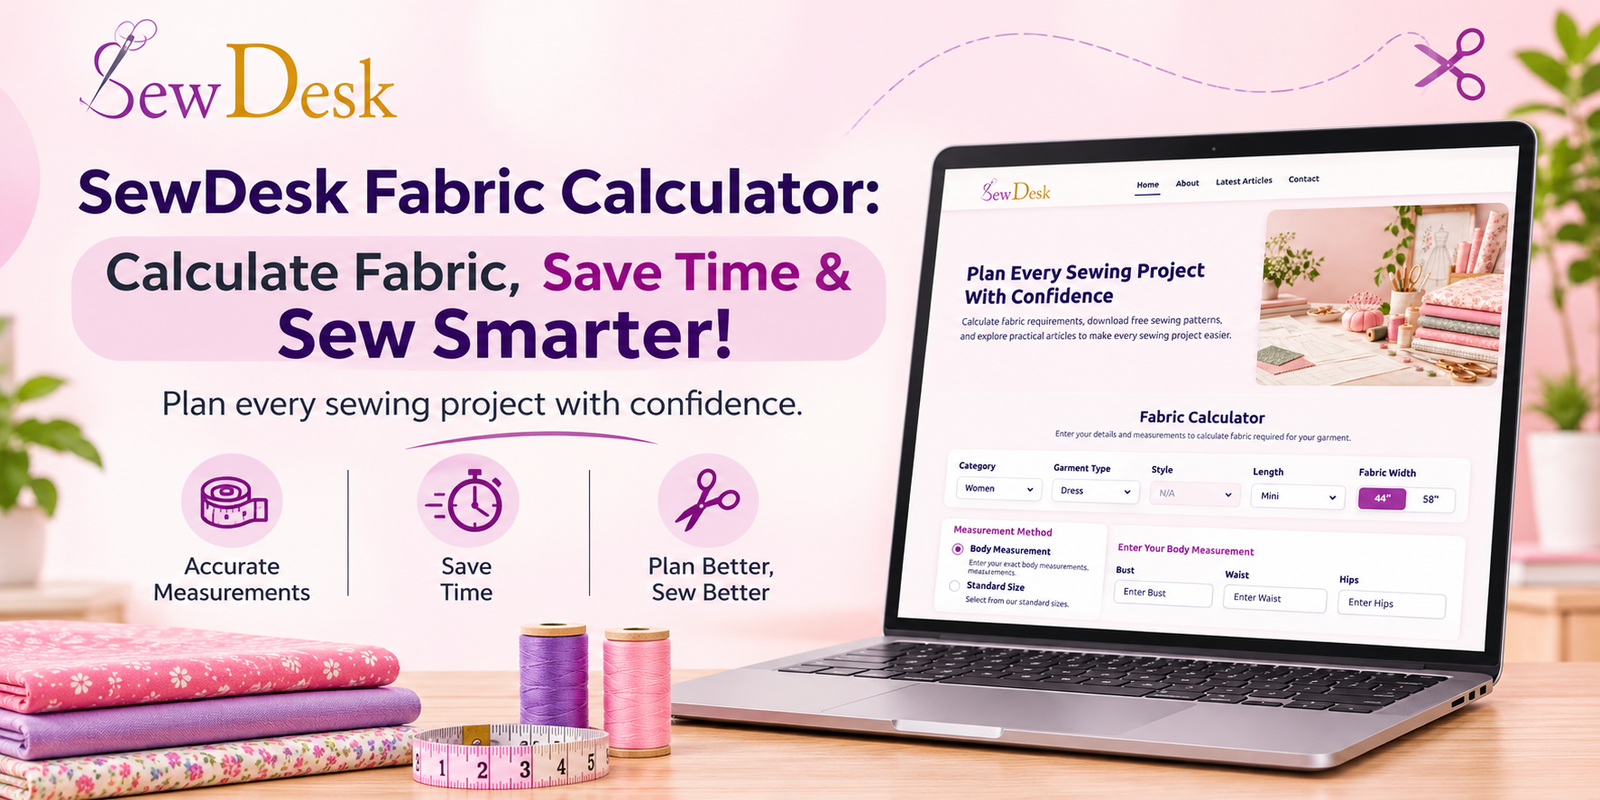
SewDesk Fabric Calculator: Calculate Fabric, Save Time & Sew Smarter!
Discover how the SewDesk Fabric Calculator makes fabric estimation simple and convenient. Learn how to calculate fabric requirements, reduce material wastage, save time, manage sewing budgets, and plan your stitching projects more efficiently. Whether you are a beginner, tailor, or fashion designer, SewDesk helps you sew smarter.
Read More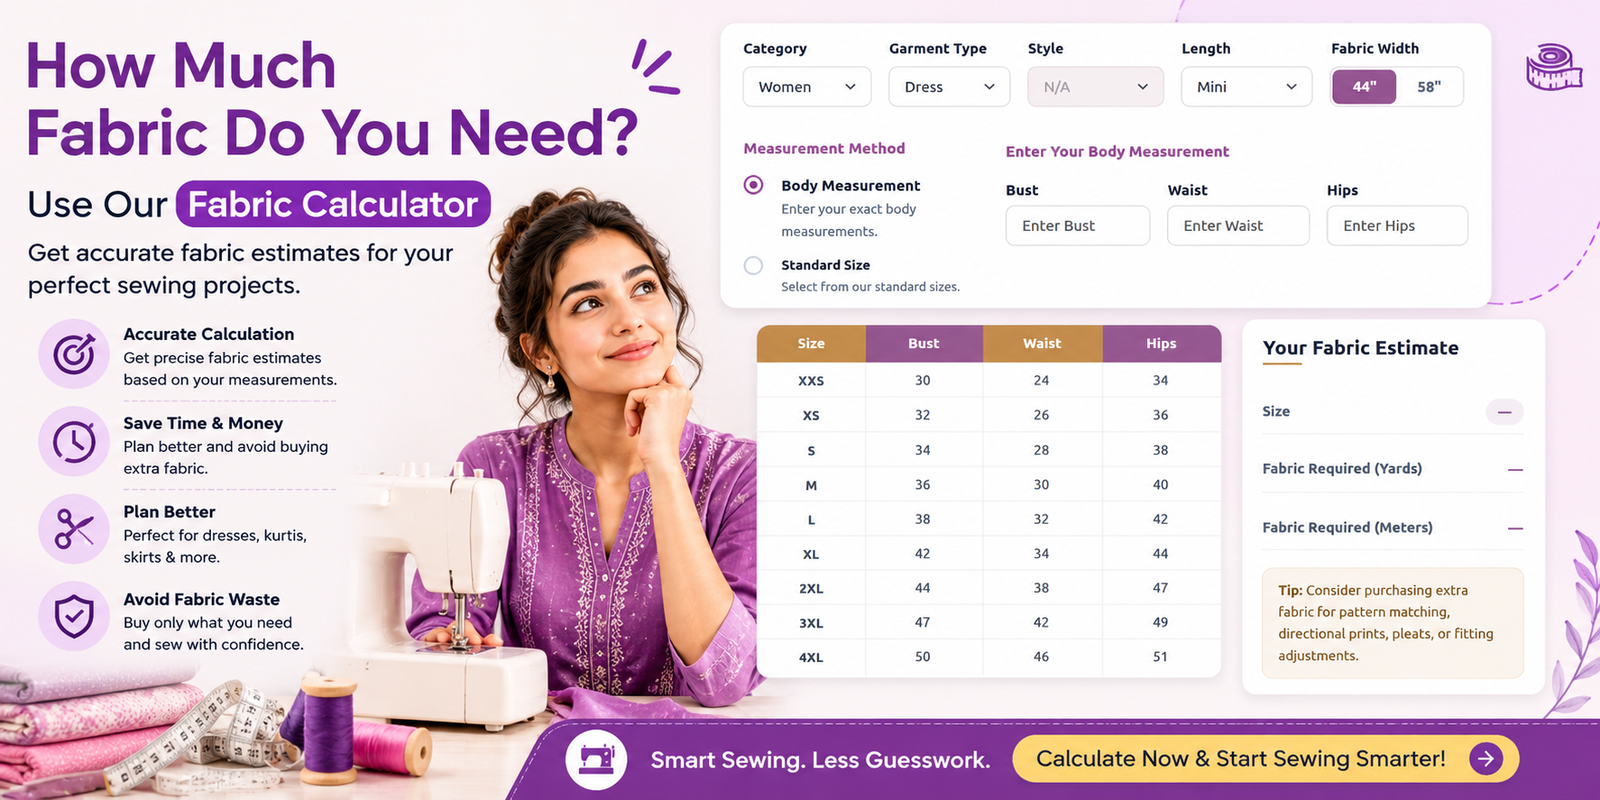
How Much Fabric Do You Need? A Complete Guide to Using a Fabric Calculator
Discover how much fabric you need for your next sewing project with a Fabric Calculator. Learn how to calculate fabric requirements for dresses, kurtis, blouses, and skirts based on garment style, body measurements, and fabric width. Explore practical tips to save time, reduce fabric waste, and plan smarter sewing projects with Sewdesk.
Read More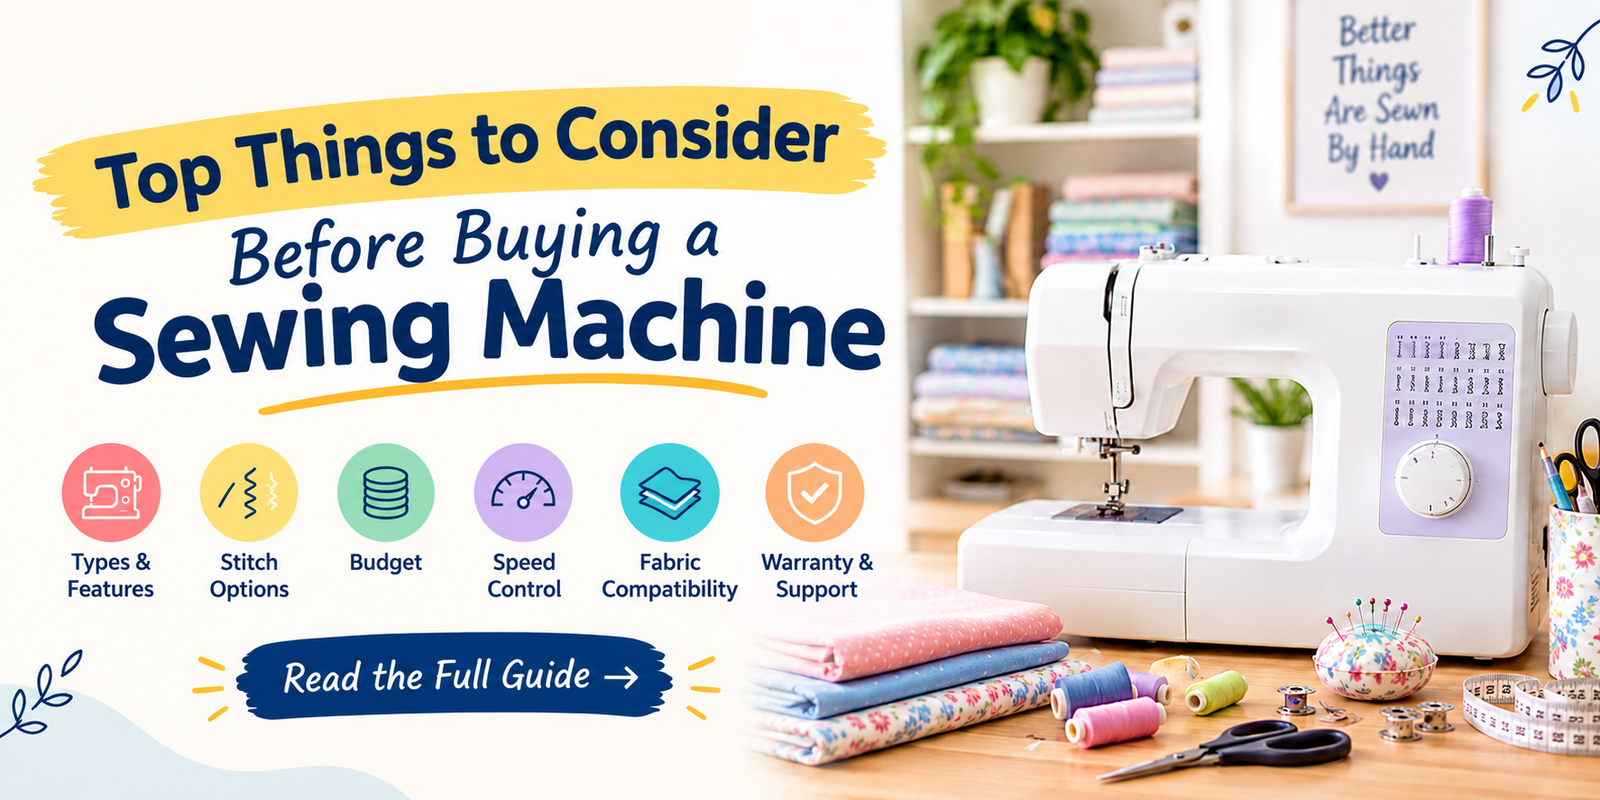
Top Things to Consider Before Buying a Sewing Machine
Learn about the top things to consider before buying a sewing machine. Explore different machine types, stitch options, budget, speed control, fabric compatibility, essential features, and warranty tips to choose the right sewing machine for your needs. Whether you're a beginner or an experienced sewing enthusiast, this guide will help you make an informed buying decision.
Read More