Curved Seams Made Simple: Why They Wobble and How to Stop It
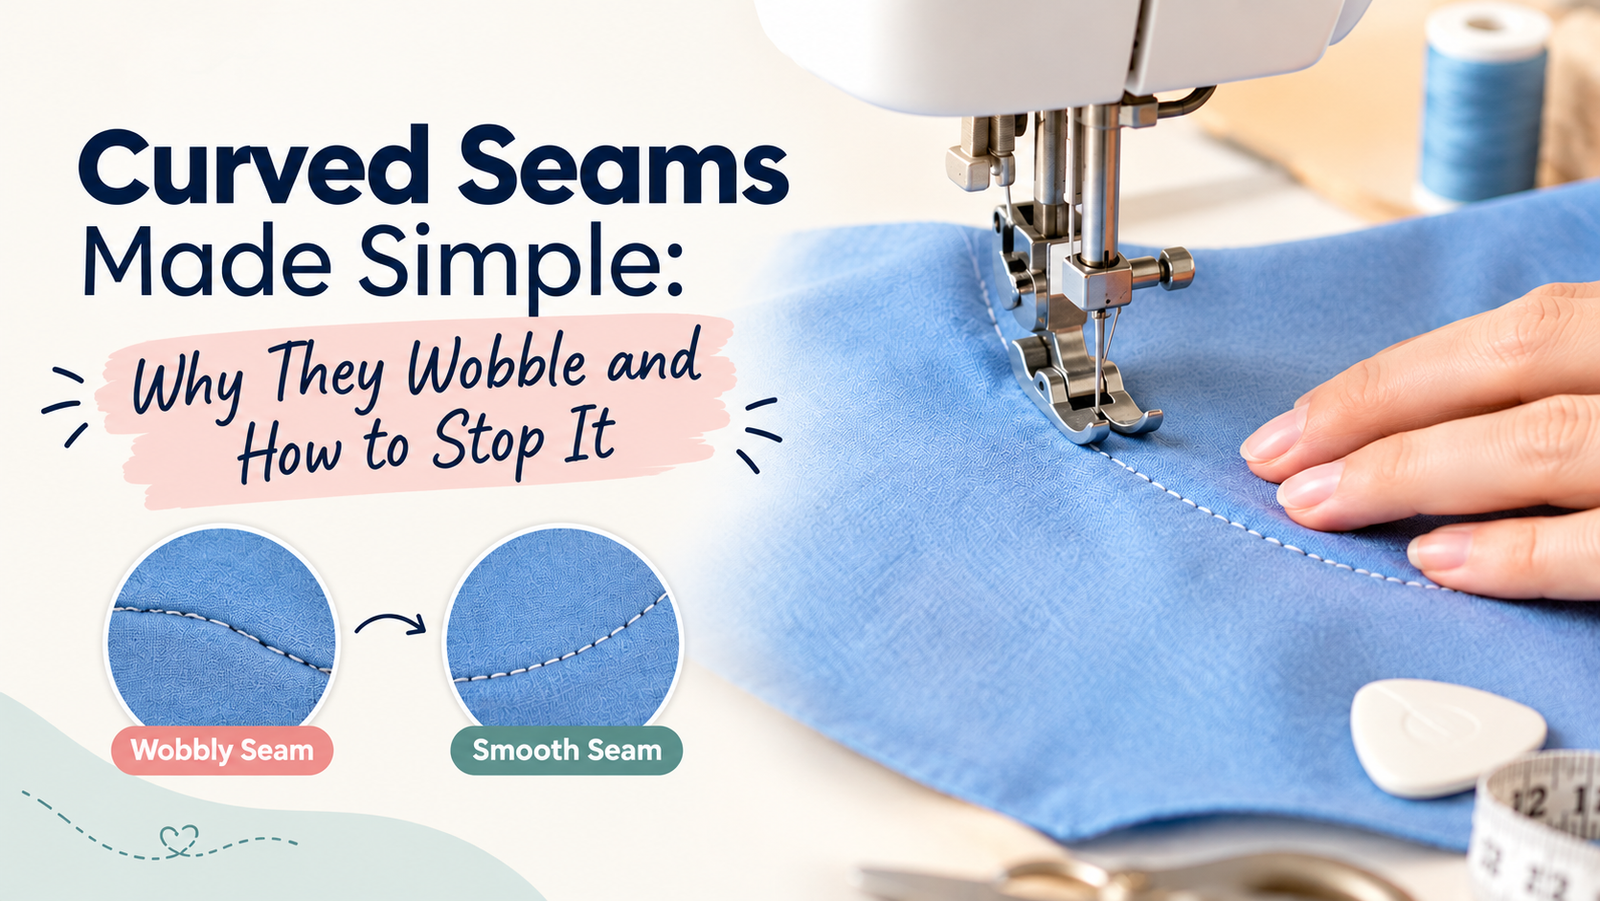
Learn how to sew smooth, even curved seams without wobbly stitches, puckering, or stretched fabric. This beginner-friendly guide from Sewdesk covers common sewing mistakes, practical techniques, fabric preparation, stitch length adjustments, and seam finishing tips to help you achieve neat, professional-looking curves with confidence.
Sewing curved seams can be tricky, especially when you want smooth, even stitching around necklines, armholes, collars, or rounded hems. Instead of following a clean curve, the fabric may shift, stretch, pucker, or create wobbly stitches. The good news is that you don't need to be an expert to achieve neat results.
With the right preparation, a few simple sewing techniques, and a little patience, you can learn how to sew curved seams with greater accuracy and confidence.
In this guide, we'll explore why curved seams wobble, how to prevent uneven stitching, and which techniques can help you create smoother, more professional-looking curves.
Why Do Curved Seams Wobble When Sewing?
Before fixing uneven stitching, it's helpful to understand what causes it. Curved seams behave differently from straight seams because the fabric must move around a bend rather than travel in a straight line.
Here are some common reasons your curved seams may look uneven.
1. Pulling or Stretching the Fabric
One of the most common mistakes when sewing curved seams is pulling the fabric to help it move through the machine. This can stretch the edge, distort the curve, and create wavy stitching.
How to fix it: Guide the fabric gently with your hands. Let the feed dogs move it forward naturally instead of pushing or pulling it. Keeping the fabric relaxed helps maintain the original shape of the curve.
2. Sewing Too Quickly
Curves require more control than straight lines. Sewing too quickly makes it harder to follow the seam line accurately, particularly around tight curves.
How to fix it: Reduce your sewing speed and take your time. For tight curves, stop with the needle down, lift the presser foot, and reposition the fabric slightly before continuing. Small adjustments help you stay on track without distorting the fabric.
3. Using the Wrong Stitch Length
Long stitches can make tight curves look angular rather than smooth. On the other hand, extremely short stitches may create unnecessary bulk and make unpicking more difficult.
How to fix it: Try a stitch length of approximately 2–2.5 mm for ordinary garment seams. For tighter curves, test a slightly shorter stitch length on a fabric scrap before sewing your project. Adjust the setting according to the fabric and the shape of the curve.
4. Skipping Fabric Preparation
Some fabrics stretch, shift, or fray more easily than others. Lightweight cotton, rayon, knits, and bias-cut fabric can be particularly challenging around curved edges.
How to fix it: Prewash fabric when appropriate, handle curved edges carefully, and use suitable interfacing or staystitching when needed to help prevent stretching. Preparing the fabric before sewing can save you time and reduce the need for repairs later.
How to Sew Curved Seams Without Wobbling
Learning how to sew smooth curved seams becomes much easier when you break the process into manageable steps.
Step 1: Mark the Curve Clearly
Use tailor's chalk, a fabric marker, or another suitable marking tool to draw the stitching line. Clear markings help you maintain the intended shape, especially around narrow curves.
If you're working with a sewing pattern, transfer the important notches and reference points to your fabric. These markings help you align the pieces correctly and identify where the curve changes direction.
Step 2: Staystitch Stretch-Prone Curves
Staystitching is a line of stitching sewn just inside the seam allowance to help prevent fabric from stretching out of shape.
It is especially useful around necklines and other curved edges that may become distorted during handling.
Follow your pattern instructions for the exact placement and direction of staystitching. Work carefully around the curve without stretching the fabric as you sew. This small preparation step can help preserve the shape of your garment pieces.
Step 3: Use a Shorter Stitch Length for Tight Curves
A slightly shorter stitch length gives you more control when following a tight curve. Test your settings on a scrap of the same fabric first.
Remember that stitch length is only one part of the solution. Correct fabric handling, a suitable needle, and appropriate thread tension also contribute to smooth stitching.
Step 4: Sew Slowly and Pivot When Needed
Keep your eyes on the marked seam line rather than directly on the needle.
For a gradual curve, guide the fabric gently as you sew. For a sharper change in direction, stop with the needle down, lift the presser foot, and make a small adjustment before continuing.
Avoid making large, sudden movements. Small adjustments help you maintain a consistent curve and prevent the fabric from shifting away from the marked line.
Step 5: Clip or Notch the Seam Allowance
Once the seam is sewn, the seam allowance may resist lying flat because the fabric is being shaped around a curve.
For a concave curve, such as an inward neckline, carefully clip into the seam allowance without cutting through the stitching.
For a convex curve, such as an outward rounded edge, trim small notches from the seam allowance where appropriate.
These small cuts allow the fabric to spread or overlap as needed, helping the finished curve lie flatter. Take extra care not to weaken the seam, and follow your pattern instructions when working with delicate or heavily fraying fabric.
Step 6: Press the Seam Carefully
Pressing can make a significant difference to the finished appearance of curved seams.
Use an iron temperature suitable for your fabric and press gently rather than dragging the iron across the curve. A tailor's ham can be particularly helpful for shaping curved garment areas, such as shoulders, bust seams, and necklines.
For best results, press the seam in stages and allow the fabric to cool before moving it. Careful pressing helps the curve maintain its shape without introducing additional stretching.
How to Prevent Wavy Seams When Sewing
If your curved seams still look wavy, the problem may not be your stitching technique alone. Your machine settings, fabric choice, or handling technique could also be contributing to the issue.
Try these practical troubleshooting tips to improve your results.
Check your fabric tension: Avoid stretching the fabric while feeding it through the machine. Let the feed dogs move it forward naturally.
Use the correct needle: Choose a needle suited to your fabric, such as a ballpoint or stretch needle for many knit fabrics.
Check presser-foot pressure: If your machine allows adjustment, excessive pressure may contribute to stretching on some fabrics.
Stabilize delicate edges: Staystitching or suitable lightweight interfacing can help keep certain curves from stretching.
Test your settings: Sew a sample using the same fabric, thread, needle, and stitch settings as your project.
Avoid forcing the fabric: Guide the material gently and make small adjustments as you follow the curve.
Press before judging the result: Some minor waviness may improve with careful pressing, depending on the fabric and the cause.
If the seam looks wavy immediately after stitching, try pressing it first. If the fabric itself has stretched, pressing may improve the appearance, but restitching or stabilizing the area may be necessary.
Common Curved Seam Problems and How to Fix Them
Even experienced sewists encounter problems when working with curves. The key is to identify the cause before trying to correct the stitching.
Wavy Stitching
Wavy stitching often occurs when the fabric stretches during sewing. This is particularly common with knits, lightweight materials, and bias-cut pieces.
To prevent it, guide the fabric gently, avoid pulling it from behind the presser foot, and check whether your machine's presser-foot pressure needs adjustment.
Puckering Along the Curve
Puckering can result from incorrect thread tension, a dull or unsuitable needle, or fabric that is being pulled unevenly.
Start by checking your needle and thread tension. Test the settings on a scrap before sewing the garment again. For delicate fabrics, consider whether a stabilizer would help.
Uneven Seam Allowances
Uneven seam allowances can make curved seams look messy and cause the finished garment to sit incorrectly.
Mark the stitching line clearly and follow it slowly. If your pattern includes notches, use them to keep the fabric pieces aligned throughout the sewing process.
Bulky Curved Edges
Curved seams may bunch up when the seam allowance cannot spread or overlap enough to lie flat.
Carefully clip concave curves and notch convex curves where appropriate. Trim excess bulk when the pattern and fabric allow it, taking care not to cut through the stitching.
Necklines That Stretch Out of Shape
Necklines can lose their intended shape when the fabric is stretched during cutting, handling, or sewing.
Staystitch stretch-prone edges when appropriate, follow the pattern's construction instructions, and avoid leaving the pieces hanging or pulling on them while working.
Which Fabrics Are Hardest to Sew Around Curves?
Some fabrics are more forgiving than others when you're learning how to sew curved seams. Understanding how your material behaves can help you choose the right technique.
Cotton woven fabric: Stable cotton is often a good choice for practice because it is relatively easy to handle and control.
Rayon and viscose: These fabrics can shift or stretch, so gentle handling, careful cutting, and suitable stabilization are important.
Knit fabric: Stretch can make curves challenging. Use an appropriate needle and stitch, and avoid stretching the fabric while sewing.
Silk and other slippery fabrics: These may shift easily. Fine pins or clips, careful cutting, and a suitable needle can help improve control.
Bias-cut fabric: Because the fabric is cut diagonally across the grain, its edges may stretch more easily. Stabilization and careful handling are particularly important.
If you're new to curved seams, practise on stable woven fabric before moving on to slippery or highly stretchable materials. Once you feel comfortable guiding the fabric, you can gradually try more challenging projects.
Practice Exercise: Sew a Smooth Curve
The easiest way to improve is to practise on fabric scraps before working on your finished garment. This simple exercise helps you develop control without worrying about making mistakes on an important project.
Cut two fabric scraps of the same size.
Draw a gentle curve on one piece using tailor's chalk.
Place the pieces together with their right sides facing.
Sew along the marked line at a slow, steady pace.
Repeat the exercise with a tighter curve and a slightly shorter stitch length.
Inspect the stitching and compare the results.
Try the same exercise with a different fabric to understand how material affects your technique.
Repeat the exercise until you can follow both gradual and tight curves without stretching or twisting the fabric.
This simple practice can help you build control before sewing necklines, armholes, curved pockets, collars, and other garment details.
Final Thoughts
Sewing curved seams doesn't have to be frustrating. Most wobbly curves come from stretched fabric, rushing, unsuitable stitch settings, or insufficient preparation.
Start by marking your stitching line, handling the fabric gently, and slowing down around tighter bends. Use staystitching when appropriate, adjust your stitch length to suit the curve, and finish by clipping, notching, and pressing the seam correctly.
With regular practice, you'll find it easier to create smooth, even curves that improve the finish of your handmade garments.
At Sewdesk, the goal is to make sewing techniques easier to understand and apply. Start with a simple curve, practise on scraps, and build your confidence one seam at a time.
More Articles
SewDesk Fabric Calculator: Calculate Fabric, Save Time & Sew Smarter!
Discover how the SewDesk Fabric Calculator makes fabric estimation simple and convenient. Learn how to calculate fabric requirements, reduce material wastage, save time, manage sewing budgets, and plan your stitching projects more efficiently. Whether you are a beginner, tailor, or fashion designer, SewDesk helps you sew smarter.
Read More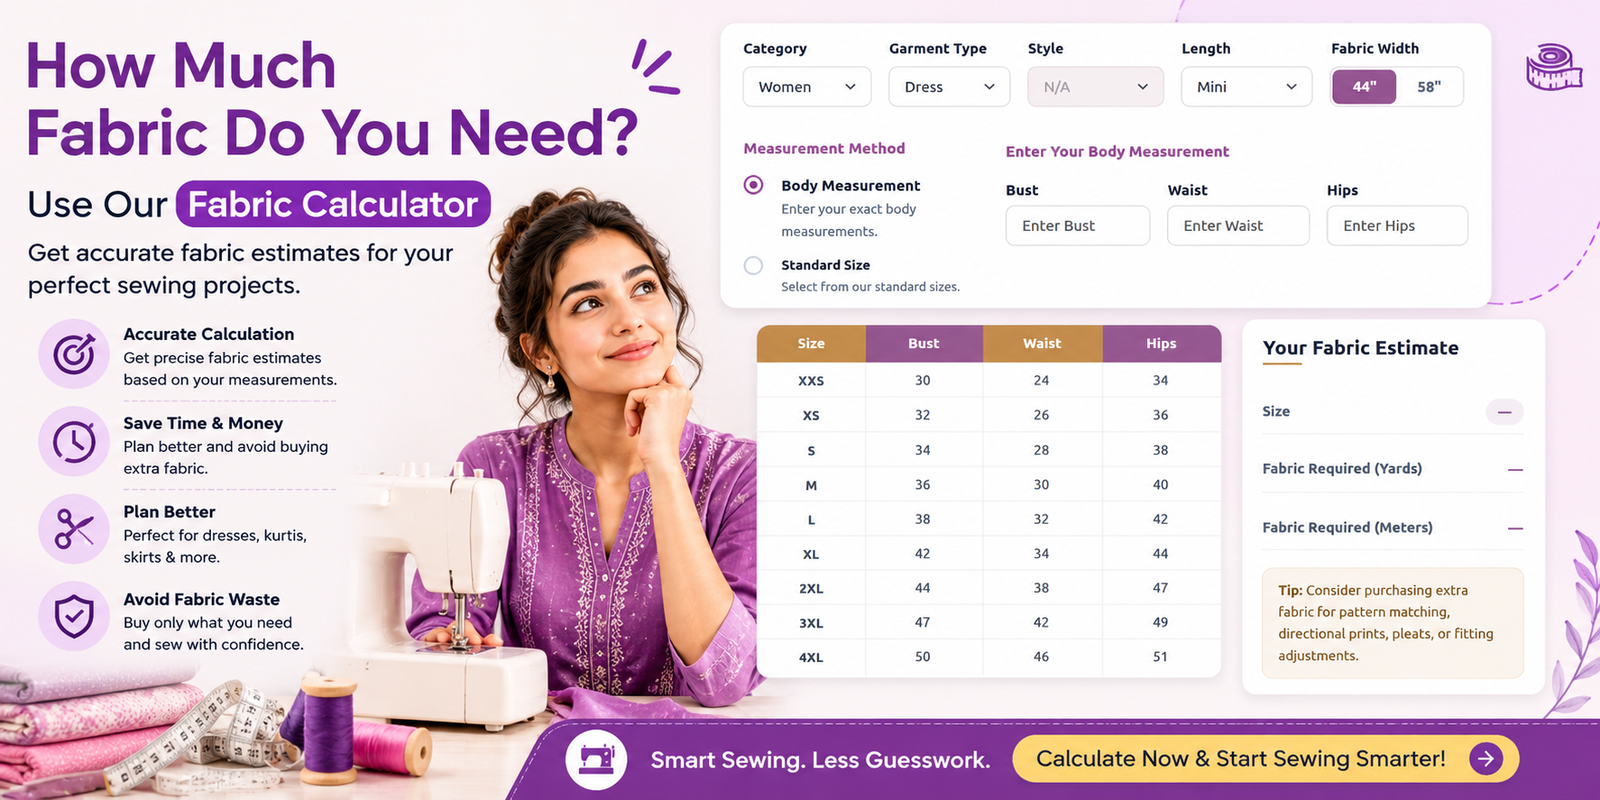
How Much Fabric Do You Need? A Complete Guide to Using a Fabric Calculator
Discover how much fabric you need for your next sewing project with a Fabric Calculator. Learn how to calculate fabric requirements for dresses, kurtis, blouses, and skirts based on garment style, body measurements, and fabric width. Explore practical tips to save time, reduce fabric waste, and plan smarter sewing projects with Sewdesk.
Read More
Top Things to Consider Before Buying a Sewing Machine
Learn about the top things to consider before buying a sewing machine. Explore different machine types, stitch options, budget, speed control, fabric compatibility, essential features, and warranty tips to choose the right sewing machine for your needs. Whether you're a beginner or an experienced sewing enthusiast, this guide will help you make an informed buying decision.
Read More