Bird Nest Under Your Fabric? Here Is What Is Going On
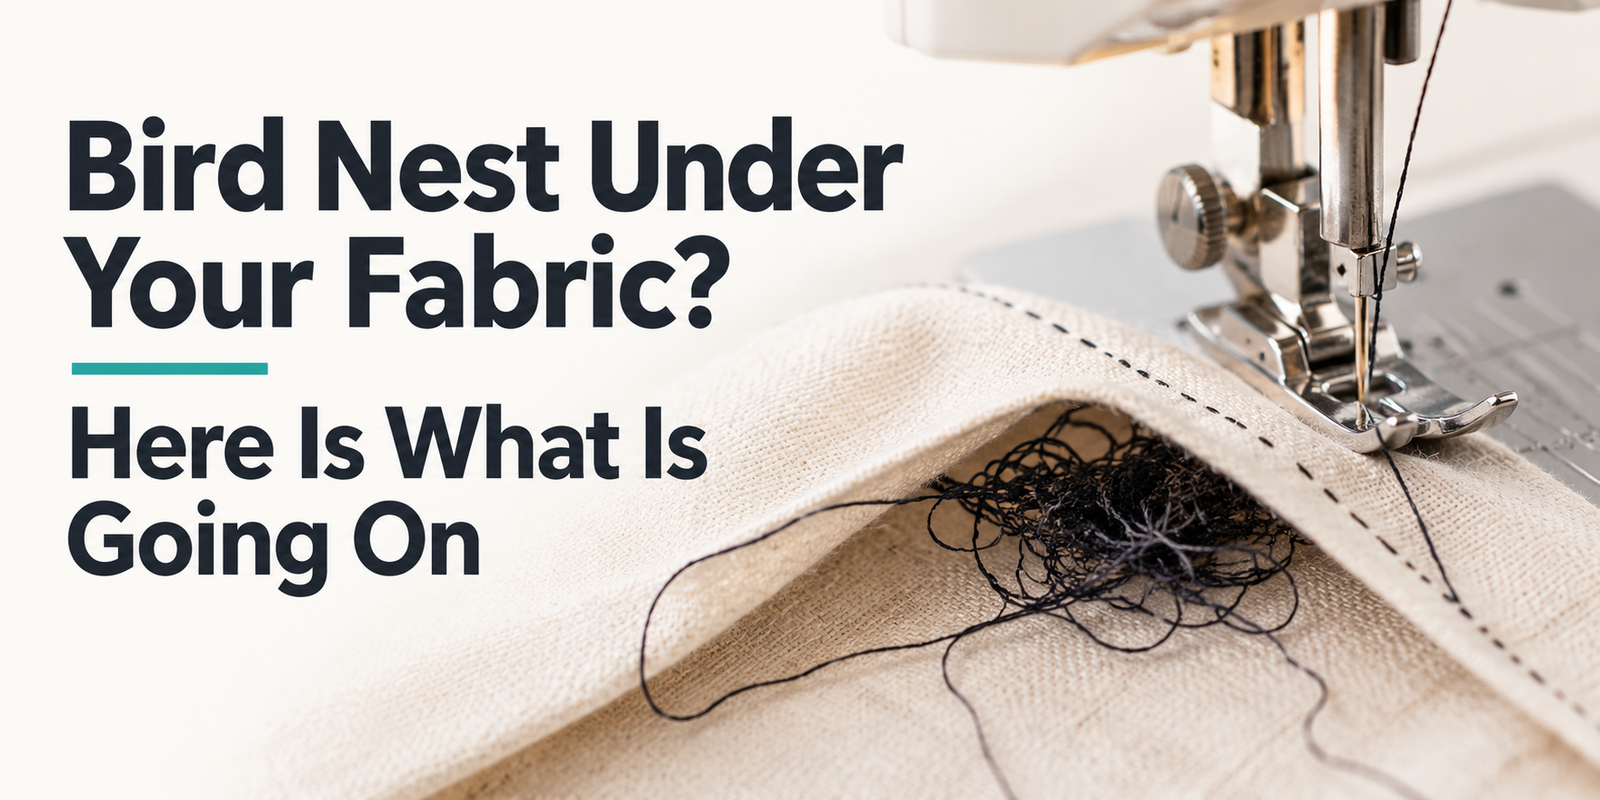
Bird nesting in a sewing machine creates tangled thread beneath the fabric, interrupting stitching and affecting seam quality. This article explains common causes, including incorrect upper threading, bobbin setup and tension issues, with practical steps to clear tangles, restore smooth stitching and prevent repeat problems.
You finish a line of stitching and turn the fabric over. Instead of a neat seam, you find a tangled patch of thread. Sometimes it happens within the first few stitches. Other times, it appears halfway through an otherwise smooth sewing session.
Bird nesting in sewing machine is the name commonly given to this buildup of loose, tangled thread. It can leave you removing stitches, clearing a jam and repeating work that should have taken only a few minutes.
The best place to begin is with the thread path. A nest underneath the fabric does not automatically mean the bobbin caused it.
Understanding Bird Nesting in Sewing Machine
During normal stitch formation, the upper thread travels beneath the fabric, interacts with the bobbin thread and is drawn back up. When the upper thread is not controlled correctly, loose loops can remain below the material.
As more stitches are attempted, those loops collect into a knot. Incorrect upper threading can cause this accumulation around the bobbin area.
This explains why a problem visible underneath may need attention above the needle.
Why Thread Bunching Under Fabric Happens
A Threading Point Has Been Missed
Threading involves more than passing thread through the needle. Each guide helps direct the thread, while the take-up lever helps manage it during stitching.
Missing part of that route can interrupt stitch formation. When checking the machine, follow the entire path from the spool rather than examining only the section closest to the needle.
Completely rethreading the upper path is often more useful than trying to reposition one small section.
The Thread Has Not Seated Properly
On many machines, raising the presser foot during threading allows the thread to enter the tension mechanism correctly. If the foot stays down, the thread may follow the visible route without seating as intended.
Brother’s guidance recommends threading with the presser foot raised where applicable and checking the take-up lever. Your own model’s manual should determine the exact procedure.
The Bobbin Setup Needs Attention
An incorrectly installed bobbin can also affect sewing. Its direction, thread routing and type must match the machine’s requirements.
Do not assume that a bobbin is suitable simply because it fits inside the compartment. Check the specified type and installation diagram.
Loose Thread or Lint Remains Inside
After clearing a nest, small pieces of thread may remain around the bobbin area. Along with accumulated lint, these can interfere with subsequent sewing.
Manufacturer troubleshooting guidance includes removing trapped thread and cleaning beneath the needle plate when addressing bunching and feeding problems.
Sewing Machine Tension Problems: Check Before You Adjust
Loose stitching can make the tension dial seem like the obvious place to start. However, changing tension before checking threading can make the cause harder to identify.
Begin with the recommended settings for your machine and project. Confirm the upper thread path and bobbin placement, then sew a test seam.
If an adjustment is still needed, change the upper tension gradually and inspect the result after each change. Avoid making several adjustments together—you need to know which change affected the stitch.
How to Fix Bird Nesting in Sewing Machine
1. Stop Sewing and Free the Fabric
Stop as soon as you notice a jam or thread buildup. Switch off the machine before clearing it.
Avoid pulling the fabric forcefully. Follow the jam-removal procedure in your manual and carefully release the material from the tangled threads.
2. Rethread from the Beginning
Remove the upper thread completely. Position the presser foot, needle and take-up lever according to the threading instructions.
Thread each guide in sequence. Taking an extra moment here is more useful than repeatedly restarting with the same uncertain setup.
3. Reinstall the Bobbin Correctly
Check the bobbin type, unwinding direction and thread path against the machine’s diagram. Remove any loose strands left from the jam.
4. Review the Needle and Material
Make sure the needle is correctly installed, undamaged and appropriate for your fabric. The needle and thread combination matters, especially when changing materials or sewing through additional layers. Manufacturer guidance identifies unsuitable combinations as a contributor to stitching problems.
5. Make a Test Seam
Use a scrap of the same material with the same number of layers as your project. Sew slowly, then examine the top and underside.
A successful test gives you a better basis for restarting than checking only whether the machine runs without jamming.
Troubleshoot the Most Recent Change
When sewing machine thread nesting appears suddenly, think about what happened immediately beforehand.
If you changed the upper thread, review the threading path. If you replaced the bobbin, check its installation. If you moved to a different fabric, review the needle, thread and settings.
This approach narrows your checks and helps you avoid changing parts or settings that were working correctly.
Preventing the Next Thread Nest
A short preparation routine can make sewing more consistent:
- Check the complete thread path after every rethreading.
- Use the bobbin type specified for the machine.
- Select a suitable needle and thread for the material.
- Clean accessible areas as directed in the manual.
- Test the stitch on matching scrap fabric before starting the final seam.
If nesting continues after these checks, arrange a service inspection. Persistent looping may require attention beyond routine threading and cleaning.
Frequently Asked Questions
Is bird nesting always a bobbin problem?
No. Incorrect upper threading can cause thread to collect underneath the fabric, so the upper path deserves an early check.
Why does the top seam look acceptable while the underside is tangled?
The visible top stitches do not show everything happening below the needle plate. Turn over your test fabric to check both sides before continuing.
Should I tighten the tension immediately?
Check threading and bobbin installation first. If needed, adjust upper tension gradually using your manual’s guidance.
Can I continue sewing through a small thread nest?
Stop and clear it first. Continuing can add more thread to the tangle and make the fabric harder to release.
What if rethreading does not solve the problem?
Check the bobbin, needle and accessible sewing area. If the problem persists after the recommended troubleshooting steps, have the machine inspected.
More Articles

SewDesk Fabric Calculator: Calculate Fabric, Save Time & Sew Smarter!
Discover how the SewDesk Fabric Calculator makes fabric estimation simple and convenient. Learn how to calculate fabric requirements, reduce material wastage, save time, manage sewing budgets, and plan your stitching projects more efficiently. Whether you are a beginner, tailor, or fashion designer, SewDesk helps you sew smarter.
Read More
How Much Fabric Do You Need? A Complete Guide to Using a Fabric Calculator
Discover how much fabric you need for your next sewing project with a Fabric Calculator. Learn how to calculate fabric requirements for dresses, kurtis, blouses, and skirts based on garment style, body measurements, and fabric width. Explore practical tips to save time, reduce fabric waste, and plan smarter sewing projects with Sewdesk.
Read More
Top Things to Consider Before Buying a Sewing Machine
Learn about the top things to consider before buying a sewing machine. Explore different machine types, stitch options, budget, speed control, fabric compatibility, essential features, and warranty tips to choose the right sewing machine for your needs. Whether you're a beginner or an experienced sewing enthusiast, this guide will help you make an informed buying decision.
Read More